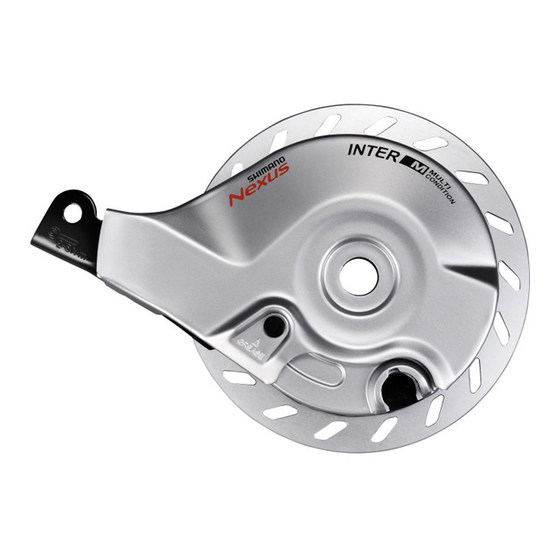
Shimano BR-IM81 Manual del Concesionario - Página 12
Navegue en línea o descargue pdf Manual del Concesionario para Accesorios para bicicletas Shimano BR-IM81. Shimano BR-IM81 27 páginas. Hub roller brake

- 1. Table of Contents
- 1. Important Notice
- 2. To Ensure Safety
- 3. Installation
- 3. List of Tools to be Used
- 3. Installation of the Lever
- 3. Installing the INTER M Brake to the Hub Body
- 3. Installation of the Hub to the Frame
- 3. Installation of the Brake Cable
- 4. Adjustment
- 4. Adjusting the Brake Cable
- 5. Maintenance
- 5. Applying Grease
INSTALLATION
Installation of the hub to the frame
Installation of the hub to the frame
Rear side
The hub installation is an example. Also refer to the manual for the hub.
1
(C)
(E)
2
Dropouts
Standard
Reversed
Reversed
(full chain
case)
Vertical
Note: vertical: excluding the coaster specifications
To be continued on next page
(A)
(B)
(D)
(F)
(G)
Non-turn washer
Mark/Color
Right
Left
5R/Yellow
5L/Brown
7R/Black
7L/Gray
6R/Silver
6L/White
5R/Yellow
5L/Brown
8R/Blue
8L/Green
Mount the chain on the sprocket, and
then set the hub axle (A) into the
dropouts (B).
Place the non-turn washers onto the
right side and left side of the hub axle.
At this time, turn the cassette joint (E)
so that the projecting parts of the non-
turn washers fit into the grooves of
the dropouts (D). If this is done, the
cassette joint can be installed so that it
is almost parallel to the chainstay (F).
Size
ϴ ≤ 20°
20° ≤ ϴ ≤ 38°
ϴ = 0°
ϴ = 0°
ϴ = 60° - 90°
12
(A)
Hub axle
(B)
Dropouts
(C)
Non-turn washer (for left side)
(D)
Grooves of the dropouts
(E)
Cassette joint
(F)
Chainstay
(G)
Non-turn washer (for right side)
NOTE
When installing a part such as a mudguard
stay to the hub axle, install in the order
shown in the illustration below.
Non-turn
washer
Mudguard stay
Carrier stay
•
Use whichever non-turn washers match
the shape of the dropouts. Different non-
turn washers are used at the left and
right sides.
•
The projecting parts should be on the
dropouts side.
•
Install the non-turn washers so that the
projecting parts is securely in the
dropouts grooves on either side of the
hub axle.
Mark
Washer
Cap nut
ϴ
