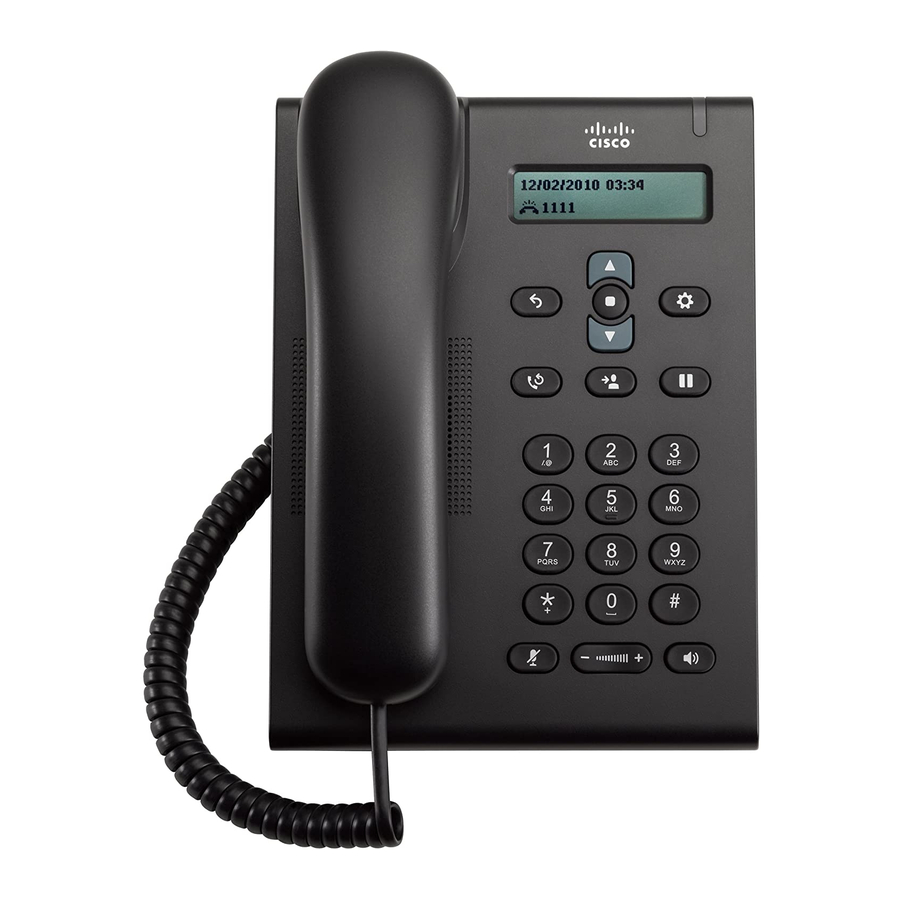
C
T
ONSULT
RANSFER
While in an active call:
1.
Press the Transfer key.
2.
Dial the intended party.
3.
Wait for the party to answer and announce the call,
press the Transfer key again to complete the
transfer.
4.
If dialed party does not wish to take the call, press
End Call (red hardkey), then resume the original call.
T
V
RANSFER TO
OICEMAIL
1.
Press the Transfer key.
2.
Dial * plus the 4 or 5 digit extension.
3.
Press Transfer again.
Conferencing Options
A
-H
C
D
OC
ONFERENCING
While in an active call:
1.
Press the hook- switch (flash button)
2.
Wait for dial tone
3.
Dial the intended party.
4.
Press the hook-switch again to connect parties
5.
Repeat to add additional parties.
R
L
P
EMOVE
AST
ARTY FROM
While in an Ad-Hoc or Joined Conference call:
1. Press the hook switch.
2. Last party dropped
Call Forwarding
To activate:
1.
Press the Navigation Bar center button
2.
Scroll using the Navigation bar arrows, till Call
Forward All is displayed on the phone screen
3.
Press the navigation bar center button
4.
Wait for dial tone, dial the desired destination.
To deactivate:
1.
Press the navigation bar center button
2.
Scroll till Call Forward All is displayed
3.
Press the navigation bar center button
892586v1
NJ/
NCD
(
6)
MAX
A C
C
ONFERENCE
ALL
Voicemail
& P
ID
IN
Internally from your own phone:
1. Press the Select button (shown to above).
2. Press the downward pointing Navigation bar arrow once.
3. You will see the Voice Mail Access option.
4. Press the Select button again.
The "default" PIN is "159357"
You will be prompted to change it during initial set up.
INITIAL SETUP
Follow the prompts to setup your mailbox
"Record your name"
"Record your greeting"
"Change your temporary PIN"
If you "hang up" before you have completely
enrolled, you will have to repeat the setup
process next time you access voicemail.
A
INTERNAL
CCESS
Internally from another phone:
1.
Scroll using the navigation bar
2.
Select "Voicemail"
Or Dial extension "7000"
3.
Enter 7-digit phone (831-XXXX)
4.
Enter your PIN & #
E
A
XTERNAL
CCESS
1.
Dial your number
2.
Press the Asterisk *
3.
Enter 7-digit number (831-XXXX), #
4.
Enter your PIN & #
M
M
AIN
ENU
1- Listen to messages
2- Send a message
3-Review old messages
4-Setup options
P
C
ERFORMING
OMMON
4-1-1 Re-Record Standard Greeting
4-1-2 Re-Record Alternate Greeting
4-3-2 Re-Record Name
4-3-1 Change Pin
T
ASKS
Select

