Epson 826W - PowerLite WXGA LCD Projector Manual de configuración rápida - Página 6

Navegue en línea o descargue pdf Manual de configuración rápida para Proyector Epson 826W - PowerLite WXGA LCD Projector. Epson 826W - PowerLite WXGA LCD Projector 9 páginas. Epson powerlite 85/825/826w
También para Epson 826W - PowerLite WXGA LCD Projector: Manual del usuario (42 páginas), Especificaciones (6 páginas), Manual de instrucciones (47 páginas), Configuración rápida (4 páginas), Manual del usuario (1 páginas), Especificaciones (2 páginas), Boletín de asistencia sobre productos (25 páginas), Boletín de asistencia sobre productos (12 páginas), Manual de introducción (9 páginas), Declaración de conformidad (4 páginas), Lista de piezas (1 páginas), Boletín de asistencia sobre productos (22 páginas), Lista de piezas (1 páginas), Boletín de asistencia sobre productos (28 páginas), Boletín de asistencia sobre productos (41 páginas), Boletín de asistencia sobre productos (38 páginas), Boletín de asistencia sobre productos (28 páginas), Boletín de asistencia sobre productos (15 páginas), Boletín de asistencia sobre productos (22 páginas), Manual de instalación (10 páginas), Manual de instalación (3 páginas)
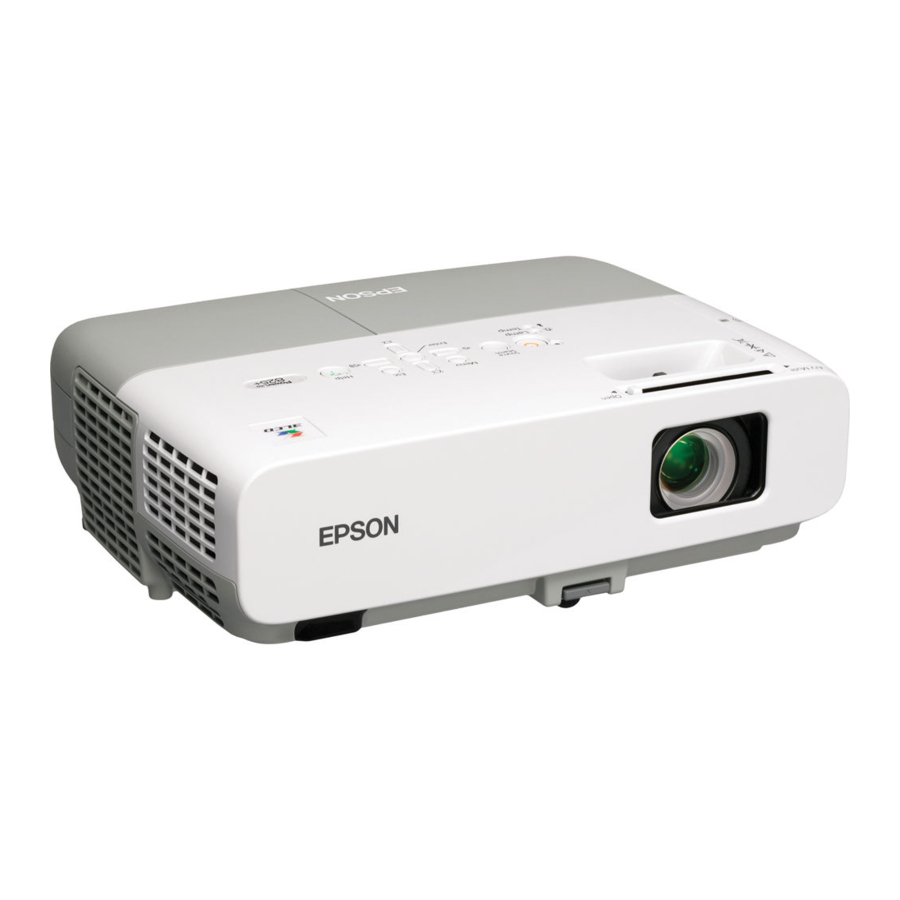
Epson 826W - PowerLite WXGA LCD Projector Manual de configuración rápida

Network configuration

If you need to configure the projector for your network, you can use the
projector's menu system.
1
Press the Menu button on the remote control, select the Network menu,
then press Enter.
2
Choose Network Configuration and press Enter.
3
Select the Wired LAN menu and press Enter.
4
Choose IP Settings and press Enter. You see a screen like the following:
5
Do one of the following:
If your network assigns addresses automatically, turn on the DHCP
setting.
If your network does not assign addresses automatically, turn
off DHCP and enter the projector's IP Address, Subnet Mask, and
Gateway Address, as needed.
To enter numbers, use the
highlight the number you want to input, then press the Enter button.
When you're finished entering an address in the network menu, highlight
Return, then press the Enter button.
6
To prevent the IP address from appearing on the standby screen, set the
IP Address Display setting to Off.
7
When you're done making all necessary changes, select Complete and
press the Enter button to save your settings. Then press Enter again to
confirm.
8
Press the Menu button to exit the menu system.
buttons on the remote control to