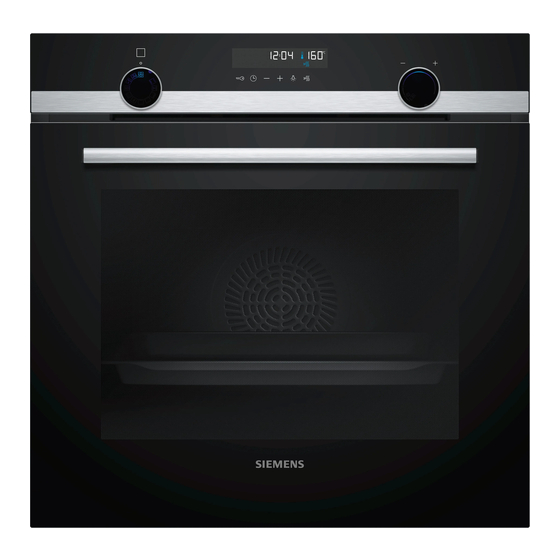
Siemens IQ500 HB478GCB6B Manual del usuario e instrucciones de instalación - Página 24
Navegue en línea o descargue pdf Manual del usuario e instrucciones de instalación para Horno Siemens IQ500 HB478GCB6B. Siemens IQ500 HB478GCB6B 40 páginas.

en Shelf supports
Cleaning set-
Cleaning
ting
level
1
Lightly soiled
2
Medium
3
High
Select a higher cleaning setting for very heavy or
older soiling.
The duration cannot be changed.
a The cleaning function starts after a few seconds and
the time counts down.
a For safety reasons, the appliance door locks auto-
matically once a certain temperature is reached in
the cooking compartment. appears in the display.
a Once the cleaning function has ended, an audible
signal sounds and the display shows the duration
as zero.
Switch off the appliance.
3.
18 Shelf supports
To clean the rails and the cooking compartment, or to
replace the rails, you can remove these.
18.1 Detaching the shelf supports
WARNING ‒ Risk of burns!
The shelf supports get very hot
Never touch the shelf supports when hot.
▶
Always allow the appliance to cool down.
▶
Keep children at a safe distance.
▶
Lift the rail forwards slightly
1.
Pull the whole rail to the front
2.
Clean the rail.
3.
→ "Cleaning products", Page 21
24
Duration in hours
Approx. 1:15
Approx. 1:30
Approx. 2:00
and detach it
.
and remove it.
Once the appliance has cooled down sufficiently,
the appliance door unlocks and goes out.
Prepare the appliance for use. → Page 24
4.
17.3 Preparing the appliance for use
following the cleaning function
1.
Allow the appliance to cool down.
Wipe off any ash that has been left behind in the
2.
cooking compartment and around the appliance
door with a damp cloth.
Remove white residues with lemon juice.
3.
Note: White residues on the enamel surfaces may
be caused by heavy soiling. These food residues
are harmless. The deposits do not compromise the
functionality of the appliance.
Attach the shelf supports.
4.
→ "Shelf supports", Page 24
18.2 Attaching the shelf supports
Notes
¡ The rails only fit on the right or left.
¡ For both rails, ensure that the curved rods are at the
front.
First, push the rail into the middle of the rear
1.
socket
until the rail rests against the cooking
compartment wall, and then push this back
Push the rail into the front socket
2.
also rests against the cooking compartment wall,
and then press this downwards
.
until the rail
.
