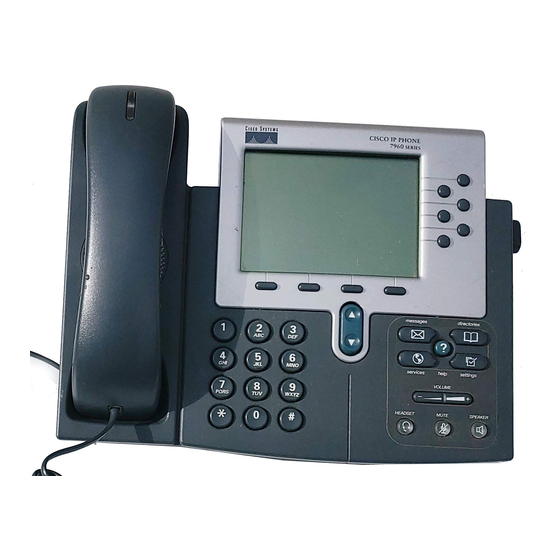
Cisco Cisco 7960 Manual del usuario - Página 19
Navegue en línea o descargue pdf Manual del usuario para Teléfono IP Cisco Cisco 7960. Cisco Cisco 7960 20 páginas. Ip phone & unity voicemail
También para Cisco Cisco 7960: Manual del usuario (19 páginas), Manual del usuario (12 páginas), Manual del usuario personalizado (2 páginas), Manual (35 páginas), Manual del usuario (15 páginas), Manual de instalación y configuración (10 páginas), Manual del usuario (23 páginas), Manual del usuario (14 páginas), Manual de referencia (2 páginas), Manual de consulta rápida (2 páginas), Manual del usuario (28 páginas), Manual del usuario (16 páginas), Manual rápido del usuario (2 páginas), Manual del usuario (9 páginas), Manual de referencia (4 páginas), Manual de inicio rápido (12 páginas), Manual (8 páginas), Manual de consulta rápida (12 páginas), Manual del usuario (14 páginas), Manual de consulta rápida (12 páginas), Manual del administrador (10 páginas), Manual del usuario (6 páginas), Manual rápido del usuario (2 páginas), Manual de referencia (17 páginas), Manual rápido (2 páginas), Manual del usuario (3 páginas), Manual rápido del usuario (2 páginas), Manual de instalación rápida (1 páginas), Manual (21 páginas), Manual del usuario (3 páginas), Primeros pasos (50 páginas), Manual de inicio rápido (6 páginas), Manual de inicio rápido (2 páginas), Manual de consulta rápida (2 páginas), Manual de inicio rápido (2 páginas), Manual de introducción (27 páginas), Manual de referencia (3 páginas), Manual del usuario (12 páginas), Manual del usuario (12 páginas)