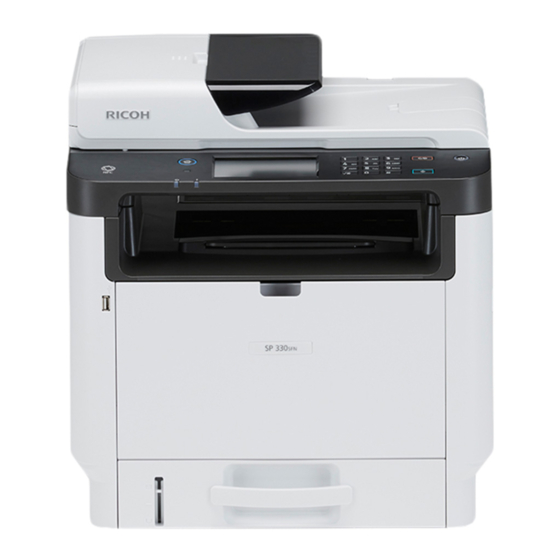
Ricoh SP 3710SF Manual - Página 20
Navegue en línea o descargue pdf Manual para Impresora todo en uno Ricoh SP 3710SF. Ricoh SP 3710SF 26 páginas.

- 1. Setup Guide
- 2. Setting up the Machine
- 3. Installing the Software
- 4. Check How the Computer Is Connected
- 5. Use the Machine from a Smart Device
- 6. Connecting the Machine Via Wireless (Wi-Fi)
- 7. Connecting the Machine (Usb/Network)
- 8. Setting the Date and Time
- 9. Selecting the Telephone Line Type and Telephone Network Connection Type
- 10. Setting the Outside Line Access Number
- 11. Basic Operation for Sending a Fax
- 12. Scan Settings
Connecting the Machine (USB/Network)
● The following items are necessary to set up a wired
connection.
● USB interface cable or Ethernet interface cable
● CD-ROM supplied with the machine
● To install the software for network connection, quick
installation and manual installation can be used. Using
the manual installation, you can specify data to be
installed as you prefer.
● If you connect the computer by a USB cable, do not
connect the cable until you are instructed to do so on
the screen.
1.
Turn on your computer.
2.
Insert the provided CD-ROM into the CD-ROM drive of the
computer.
If your computer does not have a CD-ROM drive, download a
setup file from our website.
or
3.
Click [Quick Install].
4.
The software license agreement appears in the [Software
License Agreement] dialog box. After reading the agreement,
click [Yes].
5.
Select [USB Connection] or [Wired(Ethernet)Connection]
according to communication environment or your device,
and then click [Next].
6.
Follow the instructions in the setup wizard.
18
DYG153
7.
Click [Finish] in the [Setup Complete] dialog box. If the
installer prompt you to restart Windows, reboot your
computer.
Setup is completed.
To use the fax function, configure the settings on page
19 "3. FAX settings (SP 330SFN/3710SF only)".
Windows
DYG154
