Q
S
UICK
TART
A
A
FOR
DMINISTRATIVE
SSISTANTS
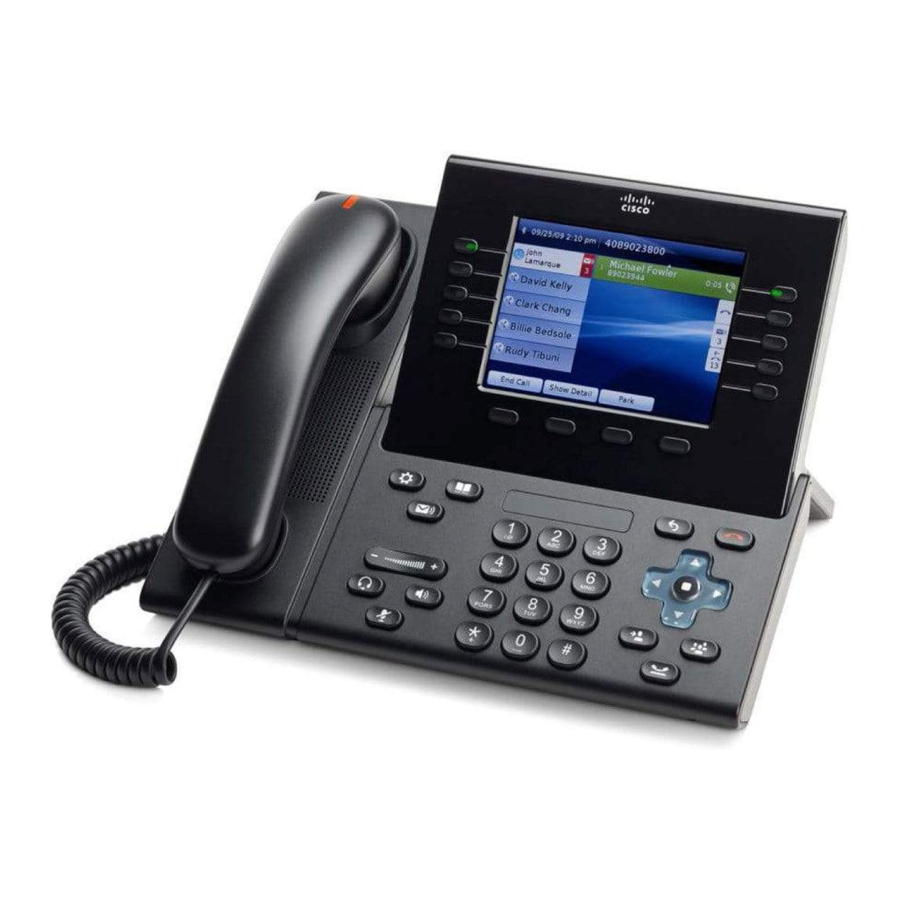
Cisco Unified IP Phone
9951 and 8961
1
Dial
2
Hang up
3
Answer
4
Divert
5
Hold
6
Mute
7
Conference
8
Transfer
9
Forward All
10
Call History
11
Directories
12
Shared Lines
13
Voicemail
14
Tips
Note
For best results, print on 8.5 x 14"
(legal-sized) paper.
1
Dial
To dial, lift the handset and enter a number. Or:
• Press an unlit session button
(right side).
• Press the New Call softkey.
• Press the (unlit) headset button
or
speakerphone button
.
To dial from a specific line, first press a line button
(left side).
Dial from call history
As you enter a phone number, matching numbers
display from your call history. To dial, scroll to a
number and press the Select button in the
Navigation pad or the Call softkey.
Redial the last number
Press the Redial softkey. To redial from a specific
line, get a dial tone on the line first.
Speed dial
Press a speed-dial button
(if available). Or,
enter a speed-dial code while on-hook (no dial
tone), then press the Speed Dial softkey.
Your system administrator can help you set up
speed dials from your User Options web pages.
2
Hang up
To end a call, replace the handset. Or:
• Press the Release button
.
• Press the End Call softkey.
• Press the (lit) headset button
or
speakerphone button
.
3
Answer
To answer a ringing call
, lift the handset. Or:
• Press the flashing amber session button
(right side).
• Press the Answer softkey.
• Press the (unlit) headset
or speakerphone
button.
• Press the Select button in the Navigation pad.
If multiple calls are ringing, scroll to the call that
you want to answer, then do one of the above.
Or press the Answer button
(if available) to
answer the oldest ringing call on any line.
Call waiting
If you get a second call while the first call is active,
a second session label displays.
To connect the second call and put the first call on
hold automatically, press the flashing amber
session button
(right side).
(If you are not in the All Calls view, you might need
to first press the All Calls button
or select the
ringing line before answering the call.)
Multiple lines
Keep these multiple line "basics" in mind:
• Press the All Calls button
view all calls on
all lines (oldest first) and to dial from your
primary line. You might prefer to keep your
phone in the All Calls view most of the time.
• If a line is selected instead of All Calls, your
phone displays activity for (and dials from) the
selected line only.
• To see which line is selected, look for a blue
icon on the line label and the line extension in
the header bar. (All Calls uses your primary
extension.)
• Press a line button or All Calls at any time to
switch views; doing so does not affect calls.
4
Divert
Press the Divert softkey to redirect a ringing or
active call to voicemail (or to another phone
number set up by your system administrator). You
must resume a held call before you can use Divert.
Divert affects the highlighted call only. If necessary,
scroll to the call before pressing Divert.
5
Hold
1. Press the Hold button
.
The hold icon
displays and the session
button pulses green.
2. To resume the highlighted call, press the
pulsing green button
, the Resume
softkey, or the Select button in Navigation pad.

