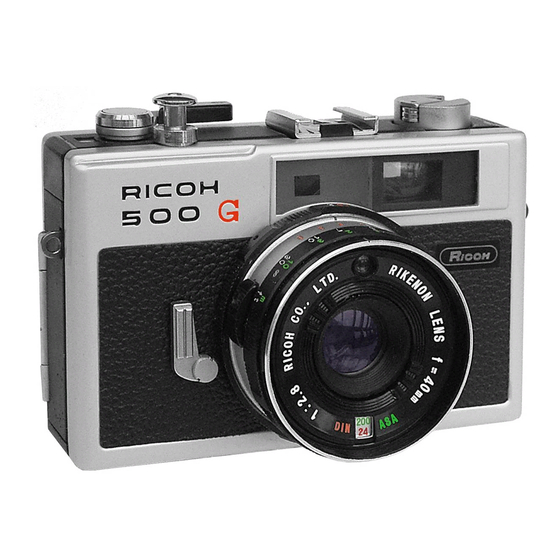
Ricoh Caplio 500G wide Manual - Página 7
Navegue en línea o descargue pdf Manual para Cámara digital Ricoh Caplio 500G wide. Ricoh Caplio 500G wide 8 páginas.

For Electronic Flash any shutter speeds from 1/8 through 1/500 second could be used. However, the shutter
speeds ranging from 1/60 up to 1/500 second are recommended for better flash picture.
(Webmaster: this is a leaf shutter, meaning at any instant all of the film is exposed at any given shutter
speed. So this camera can have shutter speeds above the 1/30 to 1/125 sec of normal 35mm cameras.)
Setting the lens for flash pictures
To determine the lens opening, divide the distance in feet (or meter) from flash to subject into the flash bulb
guide number for the film used. Check the chart on the flash bulb carton for the guide number.
EXAMPLE: Flash Bulb Guide Number: 66ft.
Flash-to-subject distance: 6ft.
66 divided by 6 = 11; use lens opening f:11
Rotate Auto/Manual Ring (G) off "A" (Auto) and set the obtained lens opening number at red marker.
(Webmaster: most current flash units are "automatic", you set the camera to it's "flash" or "sync"
speed, which on this camera is 1/500 sec. [ most are 1/60 ], check the back of the flash unit you will use
and it will have a chart. Depending on the ASA of the film, the flash will show an F-stop to set the lens
diaphragm to. The flash will also show you the range in distance you can photograph. This is usually 4
feet to some 15 feet or more. Some flash units have two or three F-stops to choose from. Depending on
the power (size) of the flash, that determines the F-stop and longest distance from your subject.)
The self-timer
By using the Self ltimer, you can also get into the picture. Merely move the Self-timer Lever (L) away from the
lens. When you press Shutter Release Button, there will be about 8-second delay before the Self-timer
automatically releases the shutter. Camera should be placed on tripod or other sturdy support.
Unloading film
Always unload your camera in the shade, never in bright light.
After the last picture on the roll has been taken, press Film Rewind Button (X). Lift up crank on Film Rewind
Knob (Q) and rotate crank clockwise until the entire roll of film has been rewound . . . tension on the crank will
decrease noticeably (Fig. 12).
Open the camera back, pull up the Film Rewind Knob and remove the film cartridge. Push Film Rewind Knob
down all the way and return crank to closed position.
Tips for better pictures
· Read the instruction booklet carefully.
· Before you go on a trip or photograph a special event shoot a practice roll of film.
· Keep fingers and strap clear of the camera lens and electric eye.
4www.bu t kus. org
