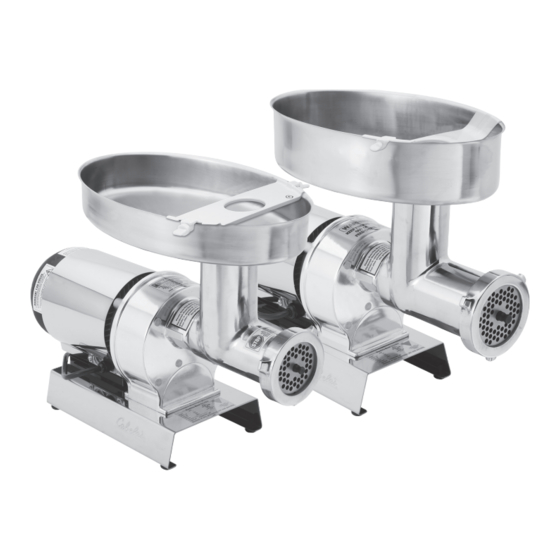
Cabela's 08-2201 Libro de instrucciones - Página 12
Navegue en línea o descargue pdf Libro de instrucciones para Picadora de carne Cabela's 08-2201. Cabela's 08-2201 13 páginas. Commercial grade electric grinder

STANDARD STUFFER
ASSEMBLY INSTRUCTIONS
WARNING!
Before cleaning, assembling or disassembling the Grinder,
make sure the PLUG IS REMOVED FROM THE OUTLET/POWER SOURCE!
ALWAYS unplug the Grinder when not in use.
1. Insert the Head into the Gear Housing
with the feed chute of the Head facing straight
up. You will need to line up the slot in the
Head with the Pin inside the Gear Housing.
Be sure the Head is seated fully into the Gear
Housing
.
(Figure 7)
2. Tighten the Head Locking Knob to lock
the Head into place.
3. Insert the Auger, with the Auger Bearing
attached, into the Head
. Align the
(Figure 8)
Auger Splines with the Drive Shaft of the
Grinder.
NOTE:
Periodically inspect the Auger
Bearing for wear. If the Auger Bearing is
worn excessively, replace it immediately or
Head damage could result.
4. Slide the Stuffing Star over the
round portion of the Auger Pin.
5. Slide one of the Stuffing Funnels
through the Flange and place it
through the Front Ring Nut.
6. Install the Front Ring Nut, DO
NOT OVERTIGHTEN.
Turn the
Front Ring Nut until it makes contact
with the Flange, then make 1/4 turn
more to tighten into place.
...INSTRUCTIONS CONTINUED ON NEXT PAGE
WARNING!
NEVER operate Grinder without the Tray and
the Tray Guard secured in place.
To avoid serious or fatal injury, NEVER reach
into any Grinder inlet.
ALWAYS use the Stomper to push meat
into the Grinder Head.
Read & fully understand all instructions
& warnings prior to use.
FIGURE 7
Slot in Head
Feed
Chute
Head
Gear Housing
Head Locking
Knob
FIGURE 8
Auger Bearing
Head
Auger Splines
Auger
Auger Pin
Flange
Front Ring
Nut
-12-
7. Insert the neck of the Tray into the Feed
Chute
.
(Figure 9)
8. Loosen the Allen Screws in the Tray
Guard until the screw ends are flush with the
Tray Guard
.
(Figure 4)
9. Align the curved ends of the Tray Guard
with the curved sides of the Tray. The hole on
the Tray Guard will line up with the hole in the
Tray.
10. The tabs of the Tray Guard will fit over the
sides of the Tray. Gently press down on the
Tray Guard until it fully seats onto the sides of
the Tray, curving into the Tray
(Figure 5)
11. Tighten the Allen Screws with the Allen
Wrench to secure the Tray Guard onto the
Tray.
DO NOT OVERTIGHTEN the Allen
Screws.
12. NEVER operate Grinder without the Tray
and the Tray Guard secured in place.
REFER TO "STUFFING INSTRUCTIONS"
WARNING!
NEVER operate Grinder without the Tray and
the Tray Guard secured in place.
To avoid serious or fatal injury, NEVER reach
into any Grinder inlet.
ALWAYS use the Stomper to push meat
into the Grinder Head.
Read & fully understand all instructions
& warnings prior to use.
Tray
Neck
Feed
Chute
Head
.
FIGURE 10
Allen Screws
Tray Guard
Tray
Tray Guard
FIGURE 11
Allen Wrench
-13-
FIGURE 9
