Cisco TelePresence DX70 Puesta en marcha

Navegue en línea o descargue pdf Puesta en marcha para Sistema de conferencias Cisco TelePresence DX70. Cisco TelePresence DX70 2 páginas. Nhs networked use
También para Cisco TelePresence DX70: Manual de instalación (6 páginas), Manual del usuario (48 páginas), Manual de consulta rápida (2 páginas), Manual del usuario (48 páginas), Manual del usuario (33 páginas), Manual del usuario (40 páginas), Manual del usuario (14 páginas), Manual (43 páginas), Configuración para uso en residencias (3 páginas)
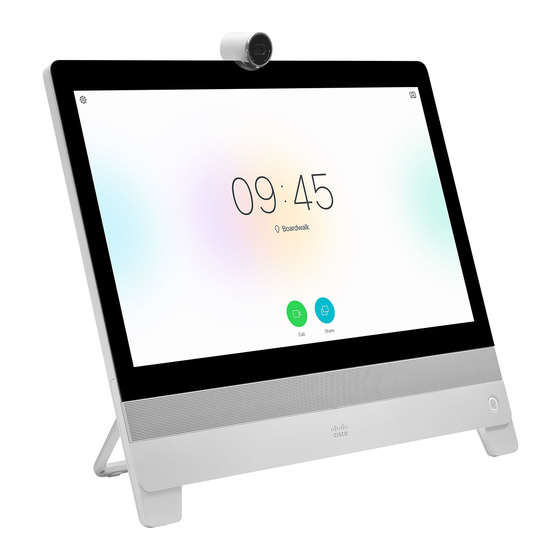
Cisco TelePresence DX70 Puesta en marcha
Cisco DX70 or 80: Setting up for NHS networked use
Please contact
register. The MAC address allows us to set your dial-in number correctly. You will be sent a
4-digit PIN number to be used to unlock the screen. This is required for the final part of the
set-up.
Your DX
must
have a valid, unused, 10.247.*.* IP address (along with appropriate
gateway, subnet and DNS settings). If your board uses dedicated network ports for its
video conference devices (a specific VLAN) then you must attach your DX to one of these
network ports or ask for the one you intend using it on to be enabled for this purpose.
Once this is in place please connect the DX to your network and power it on.
N.B. We only allow video devices on this network address range. Your ability to use
Android apps will be disabled once your device has registered.
giving the MAC address of any system you wish to
If you are required to enter a static IP address for your network
you will probably see a screen saying you are unable to connect
to a network.
Tap Cancel
Tap Get Started
on the first Welcome Screen then
next screen.
At the top RHS of the screen you'll now see 6 small white dots.
v1.5
tap OK
on the