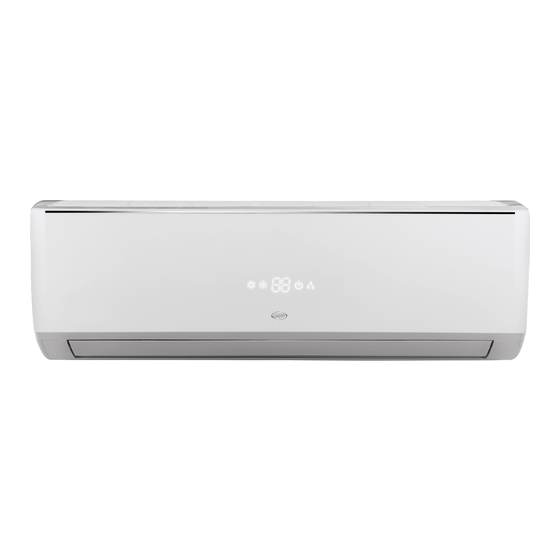
Argo FCW01 Manual de uso e instalación - Página 11
Navegue en línea o descargue pdf Manual de uso e instalación para Aire acondicionado Argo FCW01. Argo FCW01 20 páginas. Fan coil unit wall mounted type

(2) Fix the rear panel on the wall with screws. (Where is pre-covered with plastic granula)
(3) Be sure that the rear panel has been fixed firmly enough to withstand the weight of an adult of 60kg,
further more, the weight should be evenly shared by each screw.
2.3 Piping Holes for Installation
(1) Make the piping hole (Ф55) in the wall at a slight downward slant to the outdoor side.
(2) Insert the piping-hole sleeve into the hole to prevent the connection piping from being damaged when
passing through the hole.
2.4 Installation of the Drain Pipe
(1) For smooth draining, the drain hose should be placed at a downward slant.
(2) Do not wrench or bend the drain hose or flood its end by water.
(3) When the long drainage hose passing through indoor,should wrap the insulation materials.
2.4.1 The piping can be lead out from left, left rear.
(1) When routing the piping and wiring from the left side of the unit, cut off the tailings from the chassis in
necessary (as shown in Fig.6).
y Cut off the tailings 1 when routing the wiring only;
y Cut off the tailings 1 and tailings 2 when routing both the wiring and piping.
(2) Take out the piping from body case, wrap the piping electric wire, water pipe with tape and pull them
through the piping hole (as shown in Fig.7).
(3) Hange the mounting slots of the FCU on the upper tabs of the rear panel and check if it is firm enough
(as show in Fig.8).
Fig.3
Indoor
Outdoor
Wall pipe
Fig. 4
Fig. 5
Fan Coil Unit Wall Mounted Type
Seal pad
55
32
