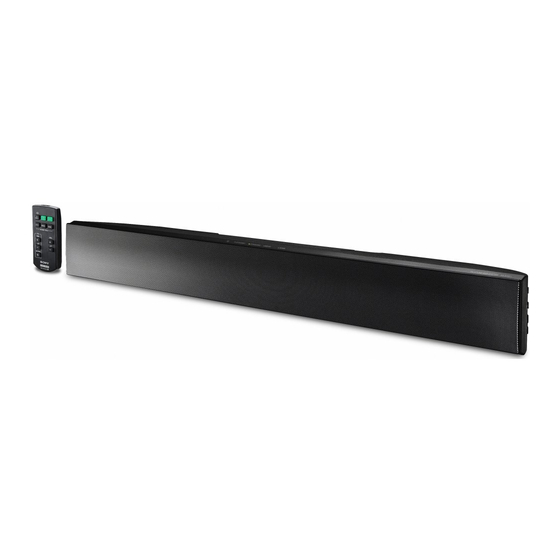
Sony SA-40SE1 Manual de instrucciones - Página 12
Navegue en línea o descargue pdf Manual de instrucciones para Sistema estéreo Sony SA-40SE1. Sony SA-40SE1 20 páginas. All-in-one soundbar
También para Sony SA-40SE1: Garantía limitada (1 páginas), Especificaciones (2 páginas)

Installing the unit on a wall
You can secure the unit on a wall.
Notes
• Use screws that are suitable for the wall material and strength. As a plaster board wall is especially fragile,
attach the screws securely to a wall beam. Install the speaker on a vertical and flat reinforced area of the wall.
• Be sure to subcontract the installation to Sony dealers or licensed contractors and pay special attention to
safety during the installation.
• Sony is not responsible for accidents or damage caused by improper installation, insufficient wall strength,
improper screw installation or natural calamity, etc.
1
Prepare screws (not supplied) that are suitable for the hook on the rear
of the unit. See the illustrations below.
more than 25 mm (1 in)
2
Fasten the screws to the wall. The screws should protrude from the
wall. See the illustration below.
7 mm to 8 mm (9/32 in to
11/32 in) (For SA-32SE1)
or 8 mm to 9 mm (11/32 in
to 3/8 in) (For SA-40SE1/
SA-46SE1)
3
Hang the unit onto the screws.
Align the holes on the rear of the unit to the screws, then hang the unit onto the two screws.
Installing the unit to the TV (Except for China model)
You can install this unit to the TV using the optional speaker attachment bracket. For details on the
compatible TV model and the speaker attachment bracket, refer to the supplied "Compatible list".
GB
12
4 mm (3/16 in)
5 mm (7/32 in)
10 mm (13/32 in)
Hook on the rear of the unit
310 mm (12 1/4 in) (For SA-32SE1) or
320 mm (12 5/8 in) (For SA-40SE1/SA-46SE1)
