ACU-RITE Mill PWR G2 Actualización de software - Página 2

Navegue en línea o descargue pdf Actualización de software para Mezclador de música ACU-RITE Mill PWR G2. ACU-RITE Mill PWR G2 3 páginas.
También para ACU-RITE Mill PWR G2: Actualización de software (7 páginas), Actualización de software (3 páginas), Actualización de software (3 páginas), Actualización de software (5 páginas), Actualización de software (5 páginas), Actualización de software (6 páginas), Actualización de software (5 páginas), Actualización de software (6 páginas)
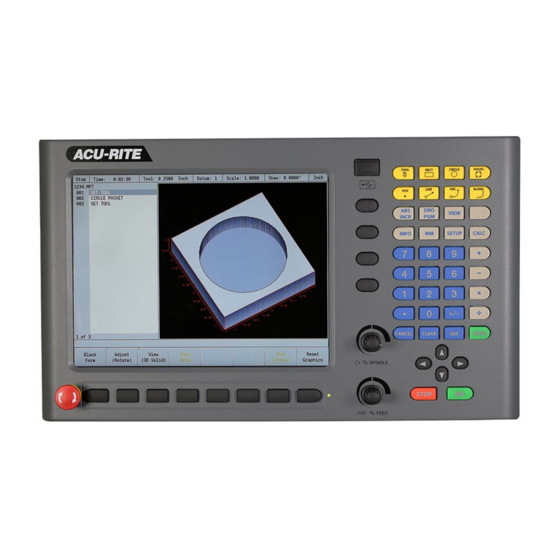
ACU-RITE Mill PWR G2 Actualización de software
Procedure for updating the software
Shut down the control software using the normal method of pressing the Shutdown soft
key and then confirming the shutdown by pressing Yes.
Wait for the screen message which indicates that it is safe to switch off power, or restart.
Insert the USB memory device containing the folder named "install" on the USB memory
device.
Press ENTER to restart the system.
The software update will now be done automatically, taking approximately 10 - 20
minutes.
If the USB memory stick used for installation is not removed, then the prompt to install the
software will continue to appear on subsequent power cycles.
A confirmation box will appear. If necessary, use the LEFT or RIGHT ARROW keys to select
Yes, and then press ENTER
When the update is complete, it will prompt you to remove the USB drive and restart. At this
time, remove the USB drive and press ENTER to restart.
Should you get a message:
On startup, to confirm a firmware update, accept the changes and RUN UPDATE.
-
(Note: This particular NC startup screen can take several minutes to display. Please be
patient. Do not shutdown control and reboot.)
After the system has restarted, it will start up normally to the control software.
-
Confirm that your count directions are correct.
-
Press the SETUP hard key, then the "Install Setup" soft key, enter passcode 8891, press
ENTER
-
In the "Installation" dialogue, scroll down to the last option "Machine Functions" and
press ENTER
-
Configure the dialog to match your machine Note:(only required if special machine
function options are installed like demo, ami, guards, etc.)
-
Press the USE hard key, then press the "Save Changes" soft key
-
After a moment, you will get a reboot prompt
-
Acknowledge the reboot and you are all done at the next startup