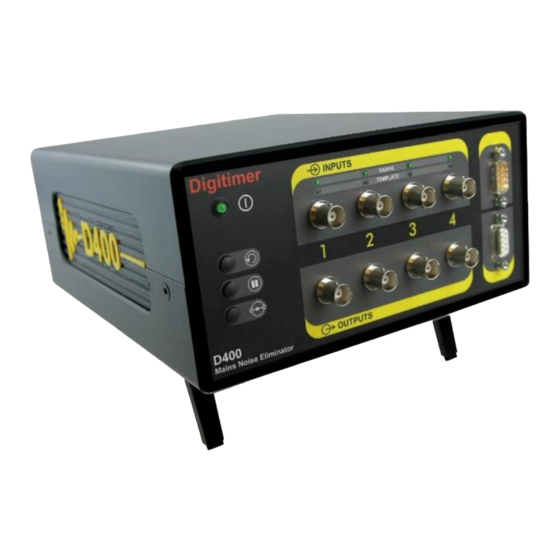
Digitimer D400-2 Manual del usuario - Página 16
Navegue en línea o descargue pdf Manual del usuario para Equipos de grabación Digitimer D400-2. Digitimer D400-2 20 páginas. Multi-channel 50/60hz mains noise eliminator, two/four channel

Digitimer Ltd – D400 Operator's Manual
Installation & Use of the D400
1. Check the D400 and accessories for any sign of damage before proceeding. Please
contact Digitimer if any damage is present.
2. Confirm the rear panel voltage selector is correctly set and mains inlet fuses are of
the appropriate rating for the local power supply voltage.
3. Connect the mains lead to the D400 rear panel mains inlet socket and power the unit
on using the associated On/Off switch. If the D400 Control Panel Software is being
used, double-click on the program shortcut to run it.
4. Once powered on, the D400 will enter a start-up stabilisation phase signified by the
front panel POWER LED flashing green for approximately 40 seconds. This LED will
become permanently lit once the D400 is ready to use.
5. Signal input and output cables may be connected via the BNC sockets or via the "D"
connectors. It is normal for the D400 to be located in the signal pathway after any
amplification or signal conditioning, but immediately before the data acquisition or
visualisation stage.
Amplifier or
Signal
Conditioner
6. This arrangement ensures the input signals are adequately amplified before noise
subtraction takes place. The D400 accepts and outputs voltages in the range of
±10V.
7. Once signal input and output cables connected, the D400 will start to construct the
noise template and a reduction in mains interference should become apparent
within the observed/acquired signals.
8. The three front panel buttons provide global control of all channel settings, while the
D400 Control Software permits individual channel control.
D400 Noise
Eliminator
16
Version 1.2
Data
Acquisition
Interface
