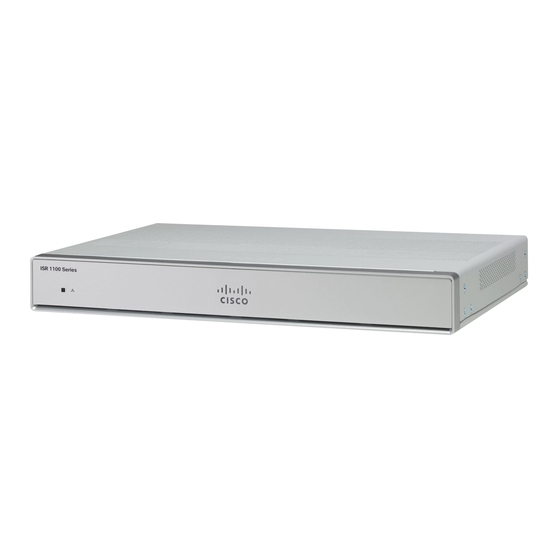
Cisco C1101-4P Instalación y conexión - Página 7
Navegue en línea o descargue pdf Instalación y conexión para Hardware de red Cisco C1101-4P. Cisco C1101-4P 27 páginas. Install and upgrade internal modules and field replaceable units
También para Cisco C1101-4P: Manual (12 páginas)

Install and Connect the Router
To attach the DIN Rail brackets to the router chassis, use the PHMS screws and the plastic spacers provided for each
bracket.
Attach Din-Rail Brackets on C112x
This procedure describes how to attach the brackets on the router chassis:
Step 1
Remove the 3 bottom screws from the chassis.
Step 2
Place the din-rail tray assy on the bottom side of the chassis.
Step 3
Secure the original screw from bottom side of tray, leverage the existing chassis screws to secure the din rail mounting
bracket from the bottom of the chassis.
Step 4
Take the other two screws to secure the din-rail trail assy
Example:
Figure 8: Attaching Din Rail Brackets for C1121-4Px, C1126-8PLTEP and C1128-8PLTEP
Attach Din-Rail Brackets on C112x
Install and Connect the Router
7
