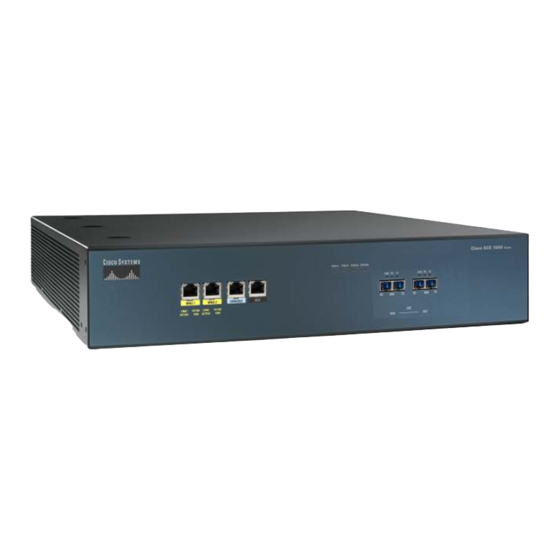
Cisco SCE 1000 and Manual de inicio rápido - Página 20
Navegue en línea o descargue pdf Manual de inicio rápido para Hardware de red Cisco SCE 1000 and. Cisco SCE 1000 and 49 páginas. Service control engine 1000 2xgbe

Define the time interval between unicast updates.
Step 7
To accept the displayed default value, press Enter.
–
Enter time interval in seconds between unicast updates [1024]:
Step 8
Specify an IP address for the SNTP unicast server.
Type in the hostname or the IP address in the form x.x.x.x, and press Enter.
Would you like to configure SNTP unicast servers? [no]: y
Enter IP address or hostname of SNTP unicast server: 10.1.1.1
Example:
Following is a sample time setting dialog. In addition to setting the time zone, time and date are changed, and SNTP unicast
updates are configured.
Would you like to enter the Time settings menu? [no]: y
Enter time zone name [UTC]: ISR
Enter time zone minutes offset from UTC: 120
The local time and date is 15:35:23 ISR FRI July 19 2002
Would you like to set a new time and date? [no]: y
This change will take effect immediately both on the system clock
and the calendar; it will also set the time zone you entered.
Are you sure? [yes/no]: y
Enter new local time and date: 14:35:23 19 July 2002
Time zone was successfully set.
The system clock and the calendar were successfully set.
Would you like to enter the SNTP configuration menu? [no]: y
Enable SNTP broadcast client? [no]: y
Enter time interval in seconds between unicast updates [900]:
Would you like to configure SNTP unicast servers? [no]: y
Enter IP address or hostname of SNTP unicast server: 10.1.1.1
Step 5: Configuring the DNS Settings
The DNS configuration menu defines the IP address of the domain name server, which is used for DNS lookup, as well as the
default domain name, which is used to complete unqualified host names.
You may choose to skip the DNS configuration menu if you wish to accept all default values.
Summary Steps
1. Enter the DNS settings menu.
2. Enable or disable DNS lookup.
3. Type the default domain name to be used, and press Enter.
4. Configure the primary domain name server.
5. Configure any additional domain name servers.
6. Exit the dialog.
Detailed Steps
Enter the DNS settings menu.
Step 1
Would you like to enter the DNS configuration menu? [no]: y
Type y and press Enter.
The DNS settings dialog begins.
20
