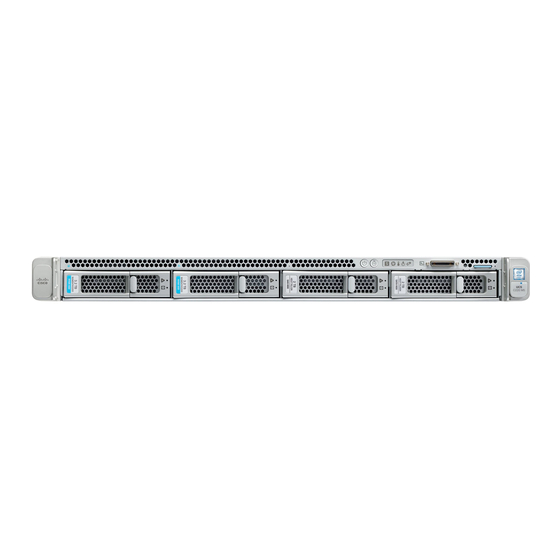
Cisco Expressway CE1200 Manual de instalación - Página 19
Navegue en línea o descargue pdf Manual de instalación para Servidor Cisco Expressway CE1200. Cisco Expressway CE1200 23 páginas.
También para Cisco Expressway CE1200: Manual de instalación del aparato (42 páginas)

Cisco Expressway CE1200 Appliance Installation Guide
Appendix 1: Troubleshooting
Appendix 1: Troubleshooting
Locating LEDs and Components
The panel layouts for this appliance are described in:
Front Panel Layout, page 8
■
Rear Panel Layout, page 9
■
Definitions of LED States
The various LED states are defined in the Cisco UCS C220 M5 Server Installation and Service Guide at
https://www.cisco.com/c/en/us/td/docs/unified_computing/ucs/c/hw/C220M5/install/C220M5.html
Reset from the Internal Recovery Partition (IRP)
The Cisco Expressway CE1200 appliance comes pre-installed with an SD card that you can use to complete a
reinstall of your configuration. You must reset the SD card and enable the virtual drive before proceeding with the
reinstall using the KVM console in the Cisco Integrated Management Controller (CIMC). Once the reset is complete,
make sure that you disable the virtual drive again.
Before you begin
You need to set up and access the CIMC, as described in
Task 1: Reset the SD Card and Enable the Virtual Drive
1.
Log in to the CIMC.
2.
Click the menu arrow in the top left corner and navigate to Storage > Cisco FlexFlash.
3.
Under the General tab, click on Activate/Reset FlexFlash Controller and click ok in the popup window that
appears. The reset ensures your FlexFlash Controller is in the correct state.
4.
Click the Virtual Drives tab.
5.
Check the Hypervisor checkbox.
6.
Click Enable Virtual Drive and confirm that you would like to enable the virtual drive.
Task 2: IRP Reinstall Using the KVM Console
1.
Launch the KVM Console using the icon in the CIMC.
2.
Power up the CE1200 and, when prompted, press F2 to enter Setup.
3.
Select Boot Options and ensure that the CiscoVD Hypervisor is visible as one of the options.
If the CiscoVD Hypervisor is not visible, you can select the UEI: Built-in EFI Shell boot option and
change it to CiscoVD Hypervisor.
4.
When prompted, press F6 to enter the Boot Menu.
5.
Select CiscoVD Hypervisor as the boot option.
6.
When prompted, type y and press Enter to proceed with the reinstall.
7.
When asked whether to
keep any release keys if possible
19
Run the Install Wizard, page 17
, type y and press Enter.
