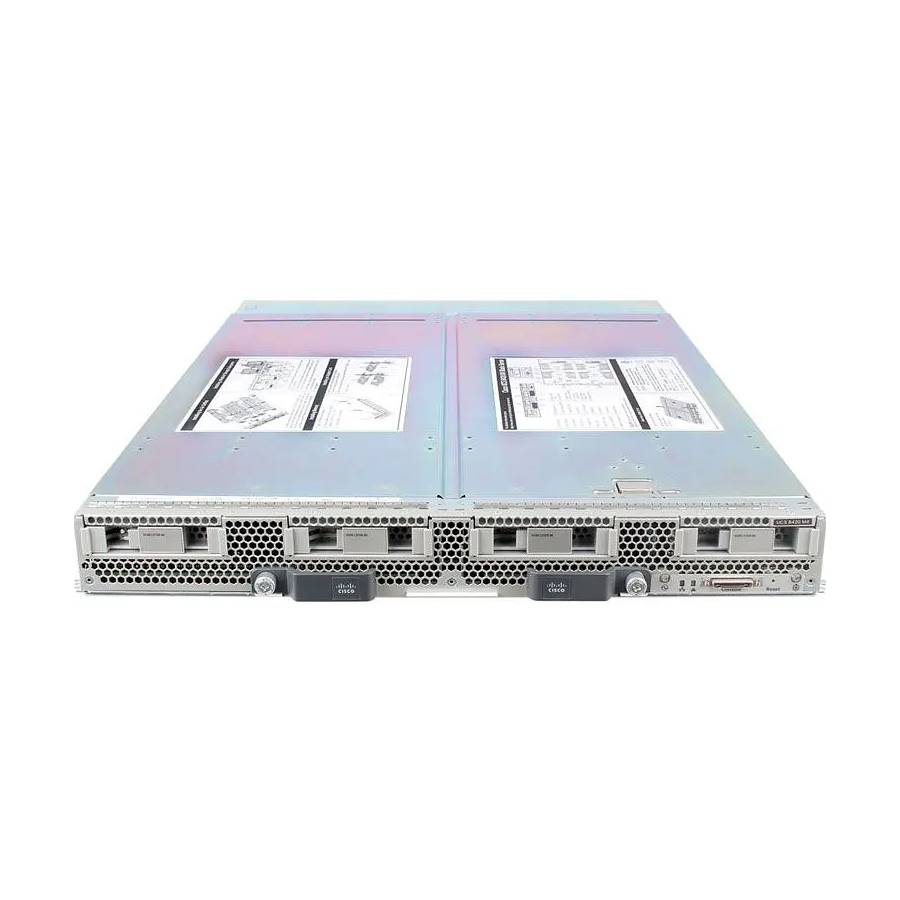
Cisco UCS B420 M4 Nota de instalación y mantenimiento - Página 24
Navegue en línea o descargue pdf Nota de instalación y mantenimiento para Servidor Cisco UCS B420 M4. Cisco UCS B420 M4 38 páginas. Blade server

Installing a New CPU and Heat Sink
Installing a New CPU and Heat Sink
Before installing a new CPU in a server, verify the following:
• .
• A BIOS update is available and installed that supports the CPU and the given server configuration.
• The service profile for this server in Cisco UCS Manager will recognize and allow the new CPU.
• The CPUs and heat sinks are different and must be installed in the correct location. The front heat sinks
Procedure
Step 1
Hold the CPU carrier by its sides (indicated by the arrows). Insert and align the two CPU carrier pegs into
the self-loading socket (SLS) plug seat. To ensure proper seating, verify that the horizontal yellow line below
the word ALIGN is straight.
Figure 11: Inserting the CPU Carrier
Step 2
Press gently on the top of the CPU carrier from the exterior side until it snaps into place.
Step 3
Close the socket latch.
Step 4
Hook the self-loading socket (SLS) lever that has the lock icon .
Step 5
Hook the SLS lever that has the unlock icon
Cisco UCS B420 M4 Blade Server Installation and Service Note
22
The CPU is supported for the given server model. Refer to the Cisco UCS B420 M4 Server specification
sheet for the list of supported CPUs:
Cisco UCS B420 M4 Blade Server Specification
and CPU 1 and CPU 2 must be installed in the front of the blade server. The rear heat sinks and CPU 3
and CPU 4 must be installed in the rear of the blade server
Sheet.
.
Servicing the Blade Server
