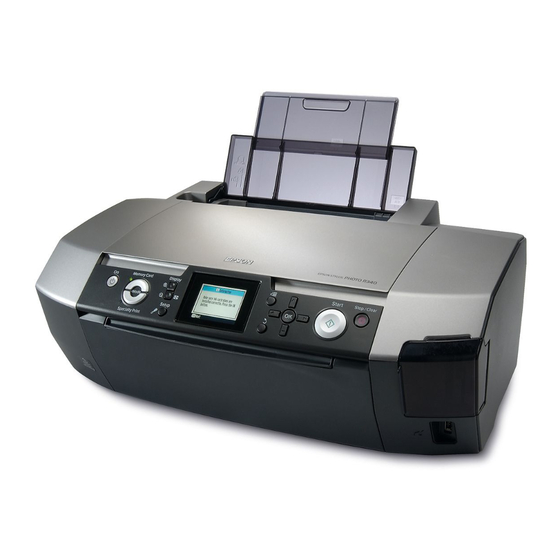
Epson R340 - Stylus Photo Color Inkjet Printer Manual de funcionamiento básico - Página 27
Navegue en línea o descargue pdf Manual de funcionamiento básico para Accesorios para impresoras Epson R340 - Stylus Photo Color Inkjet Printer. Epson R340 - Stylus Photo Color Inkjet Printer 40 páginas. C11c607011
También para Epson R340 - Stylus Photo Color Inkjet Printer: Especificaciones (2 páginas), Manual (13 páginas), Manual Start Here (9 páginas), Referencia rápida (4 páginas), Manual de instrucciones (4 páginas)

Troubleshooting
If you have a problem with your printer, check the
messages on the LCD panel screen.
Error Messages
You can diagnose and solve most problems by
checking the error messages on the LCD screen. If you
cannot solve the problems by checking the messages,
use the following table and try the recommended
solution.
Note:
The solutions are for the problems that happen when using this
product.
Error Messages
No memory card or disk
inserted, or it cannot be
recognized.
Cannot recognize the memory
card or disk.
Cannot recognize the device.
Printer error occurred. Please
see your manual.
Service required. See your
manual for details.
Cannot perform the print head
cleaning due to low ink level.
Solution
Make sure the memory card
or storage disk has been
inserted correctly. If so,
check to see if there is a
problem with the card or
disk and try again. Make
sure the card or disk
contains images.
Make sure the memory card
or storage disk has been
inserted correctly. If so,
check to see if there is a
problem with the card or
disk and try again.
Make sure the memory card
has been inserted correctly.
If you connected a USB
device, make sure the disk
has been inserted correctly.
Turn the printer off and then
back on. If the error
message still appears,
contact your dealer.
Contact your dealer.
You need enough ink to
perform print head cleaning.
Replace the ink cartridge
that is low.
Print Quality Problems
You see banding (light lines) in your
printouts or copies.
■
Make sure that the printable side of the paper is
face up in the sheet feeder. Run the Head Cleaning
utility to clear any clogged ink nozzles.
& See "Cleaning the print head" on page 25
■
Run the Print Head Alignment utility.
& See "Aligning the print head" on page 25
■
Use up ink cartridges within six months after
opening their packages.
■
Check the LCD panel. If the ink low message is
displayed, replace the appropriate ink cartridge.
& See "Replacing Ink Cartridges" on page 23
■
Make sure that the Paper Type selected on the
LCD panel is appropriate for the type of media
loaded in the printer.
Your printout is faint or has gaps.
■
Make sure that the printable side of the paper is
face up in the sheet feeder.
■
When you set the Quality setting on the Print
Setting menu to High or Normal, set the
Bidirectional setting to Off. Bidirectional printing
decreases print quality.
■
Run the Head Cleaning utility to clear any clogged
ink nozzles.
& See "Cleaning the print head" on page 25
■
Run the Print Head Alignment utility.
& See "Aligning the print head" on page 25
■
Make sure that the Paper Type selected on the
LCD panel is appropriate for the type of media
loaded in the printer.
■
The ink cartridge may be old or low on ink.
& See "Replacing Ink Cartridges" on page 23
You see wrong or missing colors.
■
Run the Head Cleaning utility.
& See "Cleaning the print head" on page 25
27
Troubleshooting
