Dik Geurts 8900010903 Manual de uso e instalación - Página 2
Navegue en línea o descargue pdf Manual de uso e instalación para Estufa de leña Dik Geurts 8900010903. Dik Geurts 8900010903 4 páginas. Multi fuel kit

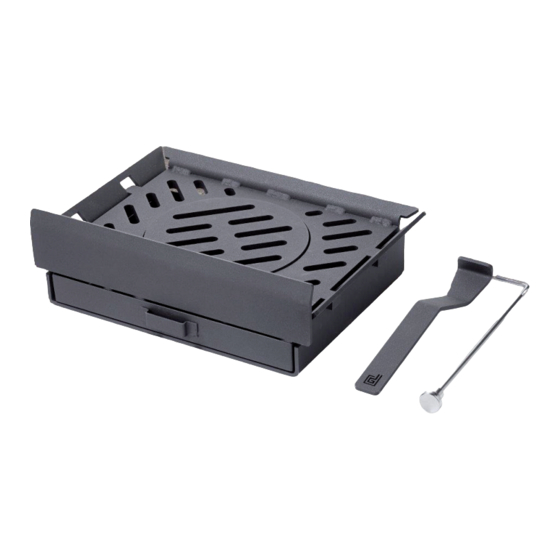
Multi Fuel kit
This Multi Fuel kit is only suitable for the Dik Geurts Ivar, Keld or Aste woodstoves and only for use in the UK:
Installation
To fit the Multi Fuel kit in the Ivar, Keld or Aste woodstove, follow these steps (see fig. 1):
•
•
•
•
•
•
•
•
•
Use
Burning solid fuel
Burn only anthracite or manufactured briquette smokeless fuels listed as suitable for use with closed heating ap-
pliances.
Do not burn bituminous coal, 'petro-coke' or other petroleum based fuels as this will invalidate the product
guarantee.
Open the air control fully (lever in middle position) to establish a glowing bed before adding new fuel.
Burn new fuel at a high temperature for a few minutes before adjusting the air control to the desired setting.
Refuel little and often for clean, efficient burning. Experience establishes settings to suit personal preference.
Do not burn large amounts of fuel with the air control on a low combustion setting for long periods of time. This
reduces the glass cleaning effect of the Airwash and causes tars and creosotes to build-up in the appliance and
flue system.
Do not load fuel above the retainer.
!Tip:
With the multi fuel kit in place, the air control lever will only control the air from the outer left position to the middle
position (maximum amount of air). Moving the lever any further to the right will not add any air.
Ash removal
De-ash the firebed before re-fuelling. Do not allow ash to build up on the underside of the grate as this can cause
premature failure.
Move the riddling rod on the right side in and out 4 times.
The ash will fall into the ashpan.
Remove the ashpan with the handle provided.
Ashes should be placed in a metal container with a tight fitting lid. The closed container of ashes should be placed on a
non-combustible material pending final disposal.
GB
2
Remove all refractory (vermiculite) and dispose the rear and bottom panels.
Remove the plate which covers the big holes in the back by undoing two screws.
Remove the ash retainer by undoing the 4 screws.
Take out the screw on the side of the appliance.
Replace the side panels and the new rear panels D and E (included in kit).
Insert rod H through the side hole as illustrated.
Place the Multi fuel kit parts A and B (they need to be angled to insert).
Insert the disc C and attach the end of rod H to it.
Place drawer F and screw knob I at the threated end of rod H.
U S E R M A N UA L
