Epson Stylus PHOTO 1290 Manual de instalación - Página 10
Navegue en línea o descargue pdf Manual de instalación para Accesorios para impresoras Epson Stylus PHOTO 1290. Epson Stylus PHOTO 1290 17 páginas. Color inkjet printer
También para Epson Stylus PHOTO 1290: Folleto y especificaciones (24 páginas), Especificaciones (3 páginas), Sustitución de cartuchos (2 páginas), Manual de instrucciones de instalación (8 páginas), Manual de instalación (18 páginas)
Using the Setup utility for Windows users
The Setup utility should open automatically when your printer software
installation is complete. Follow the on-screen instructions. If you cannot
access the Setup utility, refer to the next section, "Using the printer's control
panel".
Using the printer's control panel
If you are a Macintosh user or cannot access the Setup utility, use the
printer's control panel to install the ink cartridges.
Before installing the ink cartridges, note the following.
M
Warning:
The ink cartridges are self-contained units. Under ordinary use, ink will
not leak from a cartridge. If ink does get on your hands, wash them
thoroughly with soap and water. If ink gets into your eyes, flush them
immediately with water.
Note:
Do not open the ink cartridge packages until just before you install them; otherwise,
the ink may dry up.
Follow the steps below to install the ink cartridges.
1.
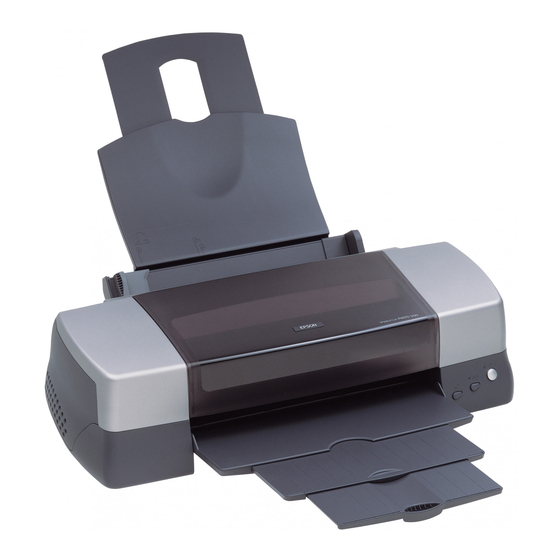
Lower the output tray and open the
printer cover.
2.
Turn on the printer by
pressing the 2 power
button.
The print head moves to
the left, which is the ink
cartridge installation
position. The 2 power
light flashes and the error
light comes on.
?
Caution:
Do not move the print head by hand. Doing so may damage the printer.