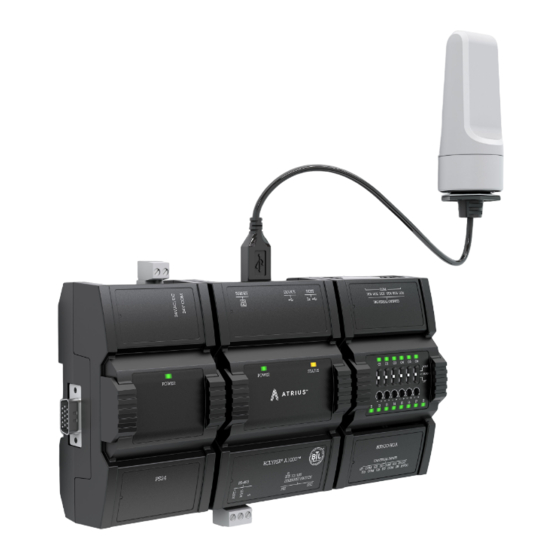
Acuity Controls ATRIUS ECYA1000 Manual de instalación - Página 6
Navegue en línea o descargue pdf Manual de instalación para Relés Acuity Controls ATRIUS ECYA1000. Acuity Controls ATRIUS ECYA1000 14 páginas.

3-0 Mounting Instructions
3-1 Power Supply Module (24V)
Wiring
Voltage:
For terminal block connector wiring best practices, see General Wiring
Recommendations.
This is a Class 2 Product. Use a Class 2 transformer only
(rated between 60 and 100VA at 24VAC) for each power
supply module.
A separate transformer rated at 60 VA minimum must be used for each
power supply module (24V) for it to operate at full capacity. Choose a
transformer that can supply both the needs of the power supply (60VA) and
any other 24VAC loads such as connected wireless adapters: add up the
maximum power consumption of all loads and multiply this sum by 1.3.
Use an external fuse on the 24VAC side (secondary side) of the transformer,
as shown in the figure below, to protect all modules against power line
spikes and mis-wiring.
4-0 DIP Switch and Jumper
Identification and Configuration
4-1 Server Module
The Server module has the following configurable jumpers or DIP switches
located inside the cover. Orient the circuit board (Figure 12).
HOST
SUBNET
SUBNET EOL
Termination
EOL Off
EOL On
(Disabled)*
(Enabled)
RS-485 EOL Termination
Option Configuration
1
BIAS +
RESET
SEC
PRI
RS-485
* Factory-default positions
Figure 12: Server Module Jumper, DIP Switch, and Reset Button Locations
4-2 8UI6UOHOA Module
The 8UI6UOHOA module have the following configurable DIP switches
located inside the cover.
Acuity Brands | One Lithonia Way Conyers, GA 30012 Phone: 800.535.2465 www.acuitybrands.com © 2019 Acuity Brands Lighting, Inc. All rights reserved. Rev. 11/07/2019
24VAC/DC; ± 15%, Class 2
HOST
SUBNET
EOL Off
(Disabled)*
2
3
ON
EOL Off
(Disabled)*
OFF*
EOL
BIAS -
RESET
SEC
PRI
RS-485
* Factory-default positions
Maintain consistent polarity when connecting controllers and devices to the
transformer. One terminal on the secondary side of the transformer must
be connected to the building's ground. Ensure that the 24V COM terminal
of the power supply is connected to the grounded transformer secondary
connection.
4-3 Input Wiring
Input options must be properly configured in EC-gfxProgram to ensure
correct input readings. The following table shows the 8UI6UOHOA modules'
input designation for each IO type. For terminal block connector wiring best
practices, see General Wiring Recommendations. Inputs can be connected
as follows.
SUBNET EOL
Termination
EOL On
(Enabled)
Before connecting a sensor to the controller, refer to the
installation guide of the equipment manufacturer.
•
RS-485 EOL
Termination
EOL On
(Enabled)
•
•
AC Power
Source
(Mains)
DC Power
Source
Fuse: 4A
Fuse: 4A
Max. Fast
Max. Fast
Acting
Acting
Figure 11: Power Supply Module (24V) Power Wiring
For a wire length less than 75' (23m), either a shielded
or unshielded 18AWG wire may be used.
For a wire up to 200' (61m) long, a shielded 18AWG
wire is recommended.
The shield of the wire should be grounded on the
controller side only and the shield length should be
kept as short as possible.
6 of 14
