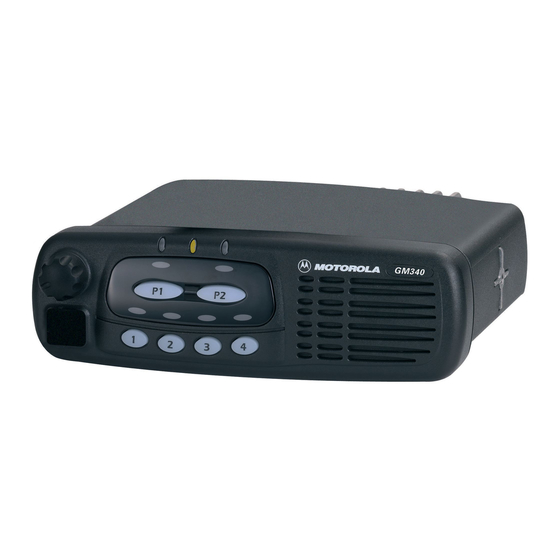
Motorola GM360 Información de servicio - Página 16
Navegue en línea o descargue pdf Información de servicio para Radio Motorola GM360. Motorola GM360 32 páginas. Gm series professional radio uhf (403-470mhz)
También para Motorola GM360: Información de servicio (34 páginas), Información de servicio (32 páginas)

2-10
controlhead µP can drive the line. The microprocessor sends serial data via pin 79 and D0872 and it
reads serial data via pin 78. Whenever the microprocessor detects activity on the BUS+ line, it starts
communication.
When the host radio needs to communicate to the controlhead µP, it sends data via line BUS+. Any
transition on this line generates an interrupt and the µP starts communication. The host radio may
send data like display information, LED and back light status or it may request the
controlheadcontrolhead ID or the keypad ID.
When the controlhead µP wants to communicate to the host radio, the µP brings request line CH
REQUEST to a logic „0" via µP pin 8. This switches on Q0852, which pulls line ON OFF CONTROL
high through diode D0852. A low to high transition on this line informs the radio, that the controlhead
requires service. The host radio then sends a data request message via BUS+ and the controlhead
µP replies with the data it wanted to send. This data can be information like which key has been
pressed or that the volume knob has been rotated.
The controlhead µP monitors all messages sent via BUS+, but ignores any data communication
between host radio and CPS or Universal Tuner.
4.6
Keypad Keys
The controlhead keypad is a 25 - key keypad. All keys are configured as 2 analogue lines read by µP
pins 49 and 48. The voltage on the analogue lines varies between 0 volts and +5 volts depending on
which key has been pressed. If no key is pressed, the voltage at both lines will be 5 volts. The key
configuration can be thought of as a matrix, where the two lines represent one row and one column.
Each line is connected to a resistive divider powered by +5 volts. If a button is pressed, it will connect
one specific resistor of each divider line to ground level and thereby reduce the voltages on the
analogue lines The voltages of the lines are A/D converted inside the µP (ports PE 0 - 1) and specify
the pressed button. To determine which key is pressed, the voltage of both lines must be considered.
An additional pair of analogue lines and A/D µP ports (PE 3 – 2) is available to support a keypad
microphone, connected to the microphone connector J0811. Any microphone key press is
processed the same way as a key press on the controlhead.
4.7
Status LED and Back Light Circuit
All the indicator LED's (red, yellow, green) are driven by current sources. To change the LED status
the host radio sends a data message via SBEP bus to the controlhead µP. The controlhead µP
determines the LED status from the received message and switches the LED's on or off via port PA
6 - 4. The LED status is stored in the µP's memory. The LED current is determined by the resistor at
the emitter of the respective current source transistor.
The back light for keypad is controlled by the host radio the same way as the indicator LED's using
µP port PH 3. This port is a Pulse Width Modulator (PWM) output. The output signal charges
capacitor C0943 through R0945. By changing the pulse width under software control, the dc voltage
of C0943 and thereby, the brightness of the back light can be changed in 16 steps. The keypad back
light current is drawn from the FLT A+ source and controlled by transistor Q0941. The current flowing
through the LED's cause a proportional voltage drop across the parallel resistors R0955, R0957.
This voltage drop is amplified by the op-amp U0941-1. U0941-1 and Q0943 form a differential
amplifier. The voltage difference between the base of Q0943 and the output of U0941-1 determines
the current from the base of the LED control transistor Q0941 and in turn the brightness of the
LED's. The µP can control the LED's by changing the dc level at the base of Q0943. If the base of
Q0943 is at ground level, Q0943 is switched off and no current flows through Q0941 and the LED's.
If the base voltage of Q0943 rises a current flows through Q0943 and in turn through Q0941 causing
the LED's to turn on and a rising voltage drop across R0955, R0957. The rising voltage causes the
THEORY OF OPERATION
