Philips DCM1070 Manual del usuario - Página 10
Navegue en línea o descargue pdf Manual del usuario para Sistema estéreo Philips DCM1070. Philips DCM1070 20 páginas. Profesionální televizor flat tv s technologií crystal clear iii 20" lcd
También para Philips DCM1070: Manual (18 páginas), Especificaciones (3 páginas), (checo) Especificaciones (2 páginas)
3 Get started
Caution
Use of controls or adjustments or performance of
procedures other than herein may result in hazardous
radiation exposure or other unsafe operation.
Always follow the instructions in this chapter in
VHTXHQFH
If you contact Philips, you will be asked for the
model and serial number of this apparatus. The
model number and serial number are on the
rear of the apparatus. Write the numbers here:
Model No. __________________________
Serial No. ___________________________
Prepare the remote control
Caution
Risk of explosion! Keep batteries away from heat,
VXQVKLQH RU ÀUH 1HYHU GLVFDUG EDWWHULHV LQ ÀUH
To insert the remote control battery:
1
Open the battery compartment.
2
Insert 2 AAA batteries with correct
polarity (+/-) as indicated.
3
Close the battery compartment.
Note
If you are not going to use the remote control for a
long time, remove the batteries.
Do not use old and new or different types of batteries
in combination.
Batteries contain chemical substances, so they should
be disposed of properly.
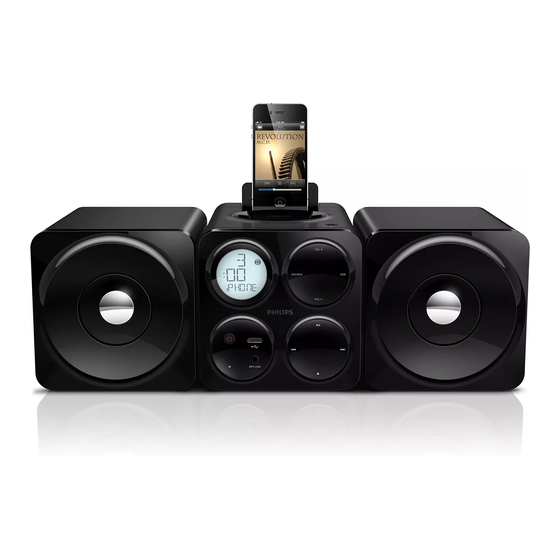
Connect speakers
Note
For optimal sound, use the supplied speakers only.
Connect only speakers with impedance that is the
same or higher than the supplied speakers. Refer to the
6SHFLÀFDWLRQV VHFWLRQ RI WKLV PDQXDO
Insert the speaker wires completely into the
speaker input sockets on the back of the unit.
Connect power
Caution
Risk of product damage! Make sure that the power
supply voltage corresponds to the voltage printed on
the rear of the main unit.
Before connecting the AC cord, make sure that you
have completed all other connections.
Note
The type plate is located on the rear of the main unit.
1
Connect the power cord to the AC~ jack
on the main unit.
2
Connect the power plug to the wall outlet.
EN
11