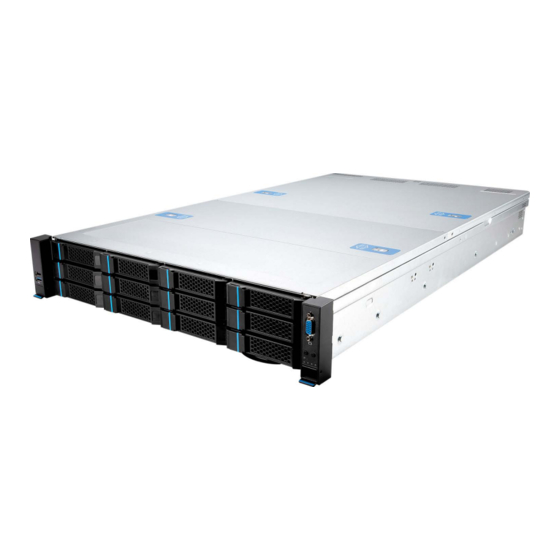
MSI MS-S2201 Manual - Página 27
Navegue en línea o descargue pdf Manual para Servidor MSI MS-S2201. MSI MS-S2201 36 páginas.

1. Check the CPU and the processor carrier for their Pin 1 indicators.
2. Align their Pin 1 indicators before inserting the CPU into the processor
carrier. If installed properly, the CPU will snap into the side snap
latches on the carrier and the carrier will latch firmly to the processor.
3. Remove the protective film on the base of heatsink if any.
4. Align Pin 1 indicator of processor carrier and the corner cutout of
the heatsink. Gently press the heatsink down to engage the carrier's
latching mechanism to the heatsink at four corners. A clicking sound
will be heard when latched properly.
5. Verify that the carrier and heatsink are firmly latched as one Processor
Heatsink Module.
6. Place the Processor Heatsink Module on top of the motherboard CPU
socket with Pin 1 indicators aligned.
7. Tighten all screws on the Processor Heatsink Module in diagonal
sequences to secure the PHM to the motherboard.
Important
Important
•
Confirm if your CPU cooler is firmly installed before turning on your system.
•
Do not touch the CPU socket pins to avoid damage.
•
Whenever CPU is not installed, always protect your CPU socket pins with the
plastic cap covered.
•
Please refer to the documentation in the CPU cooler package for more details
about the CPU cooler installation.
•
Read the CPU status in BIOS.
MS-S2201, MS-S1201
2-5
