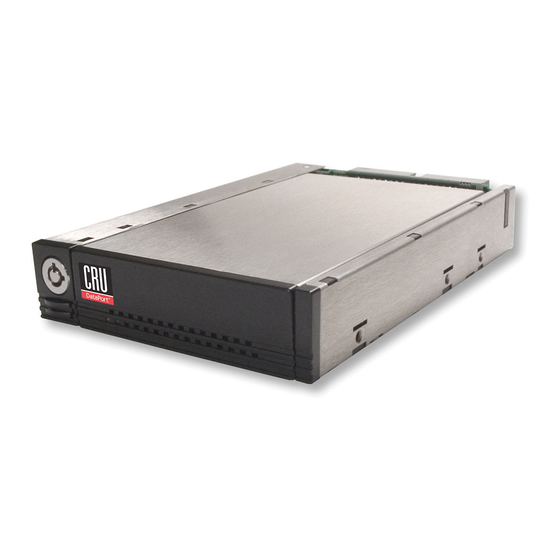
CRU DataPort 25 IDE-to-SATA Manual de inicio rápido
Navegue en línea o descargue pdf Manual de inicio rápido para Almacenamiento CRU DataPort 25 IDE-to-SATA. CRU DataPort 25 IDE-to-SATA 2 páginas. Carrier

DataPort 25 IDE-to-SATA Carrier
The DataPort 25 IDE (host)-to-SATA (drive) carrier allows newer and larger SATA drives to be
used in older systems without available SATA ports or with older IDE host DataPort 25s.
Package Contents
1 - DataPort 25 IDE (host)-to-SATA carrier assembly
1 - Screw kit
2 - Keys for lock
Installing the Frame Into Your Computer
1. Locate an available 3.5" drive bay and remove the front bezel.
2. To mount the frame assembly in the drive bay:
a. Check the drive bay to see if mounting rails are required (they
should be provided by your computer system manufacturer.) If
required, install one on each side of the frame. Then slide the
frame in the computer and check that it is secure.
b. If mounting rails are not required, attach the frame directly to
the PC case using the screws provided. Either the side or bottom
mount holes on the frame may be used.
3. Locate and connect an available 4-pin power connector (the type
used for floppy drives) to the back of the DataPort 25 frame.
4. Connect the data cables to the rear of the frame. See Operations sec-
tion for details on proper cabling.
Installing the Drive in the Carrier
1. Remove the two screws holding the carrier cover in place. Slide the
cover off the carrier.
Note: The DataPort 25 IDE-to-SATA carrier ships as a Master
device. For operation as a Slave device jumper JP2 on the carrier
board (see figure 1).
2. Insert the SATA hard drive and connect it to the SATA connector. Use
the provided screws to secure the hard drive in place.
3. Slide the carrier cover on and secure it with the cover screws.
4. Insert the carrier into the frame and engage the lock.
Your carrier assembly is complete.
Rugged, Reliable, Mobile, Secure
Figure 1: Master/Slave Jumper
Operation
Warning! Please do not touch the connector on the back of the carrier.
Internal damage could result from electrostatic discharge.
The lock on the DataPort 25 serves as a power switch. It must be en-
gaged for the DataPort 25 to power up and function properly.
IDE Operation
For IDE operation, the IDE connector on the frame board must be
connected to an IDE host bus adapter or the primary or secondary IDE
channel on the motherboard. The IDE-to-SATA DataPort 25 carrier must
be jumpered properly to function. Determine whether it will be used as
a Master or Slave before hard drive installation. If used with another
device, make sure the Master/Slave settings are unique.
LED Activity
The front of the DataPort 25 has two LEDs; a green LED that lights up
when the power to the hard drive is on and an amber LED that flashes
when the drive is active.
Note: The green LED will flash if an incorrect data cable for the
carrier is connected.
1-800-260-9800
www.CRU-DataPort.com
TM
