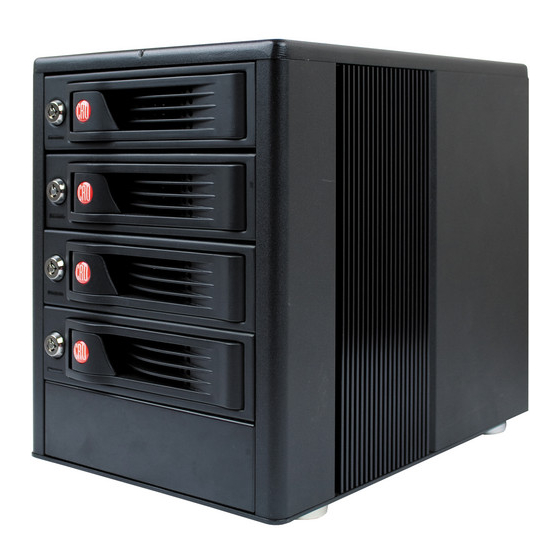
CRU Dataport RTX400H-SV Manual del usuario - Página 5
Navegue en línea o descargue pdf Manual del usuario para Almacenamiento CRU Dataport RTX400H-SV. CRU Dataport RTX400H-SV 8 páginas. 4-bay
También para CRU Dataport RTX400H-SV: Manual de inicio rápido (2 páginas)

CRU
3.1.3 Mounting and unmounting volumes
If the hard drives installed in the product are already formatted, an icon representing the drive's volume
will appear (mount) on the desktop. You can begin using the volume right away. If the drive is
unformatted, a message will appear on the desktop saying that the disk is unreadable. You can use OS
X's Disk Utility to easily format the drive (see section above).
Unmount the volume before powering down the unit by dragging the volume's icon to
the trash bin, or by selecting the volume then pressing Command-E. Disconnecting
the unit without first unmounting the volume can result in data loss.
3.1.4 Creating a Boot Drive
To activate this feature, you must first install OS X on the hard drive in your carrier.
The easiest way to do this is to clone an existing system drive using a utility such as
Carbon Copy Cloner or Super Duper. Next, go to System Preferences
Disk. A window will list the available bootable volumes. Select the volume from which you wish to boot.
Another method is to hold down the Option key during boot up. A screen should appear that allows you to
select the volume you wish to use. This is useful if you wish to boot from your RTX hard drive only some
of the time.
3.2 Usage with Windows operating systems
3.2.1 Compatibility
RTX uses 3.5-inch SATA (Serial-ATA) hard drives only. RTX does not require drivers for operation under
Windows XP, Vista, or 7. However, if you install a host card specifically to work with this product, that
card may require drivers. See your card's User Manual for drivers and instructions.
3.2.2 Formatting a drive
If you purchased your RTX pre-populated with a hard drive, this step should not be necessary unless you
wish to change the format or erase the drive. To format, use the Disk Management utility.
a) Right-click on My Computer, then select Manage. The Computer Management window will open.
b) In the left pane of this window, left-click on Disk Management.
c) The drive should appear in the list of Disks in the lower middle/right pane (see picture below). You
may need to scroll down to see it. If the drive is already formatted, you can identify it easily by its volume
name. If it's unformatted, the Drive Properties Box will say "Unallocated" and you'll need to initialize the
disk before formatting it. Initialize the disk by right-clicking the Device Properties Box and selecting
Initialize Disk.
Device
Properties
d) To format the drive, right-click the Drive Properties Box and select Format.
R T X 4 - b a y U s e r M a n u a l A 9 - 4 0 0 - 0 0 0 7 R E V 1 . 0
Startup
Drive
Properties
- 5 -
