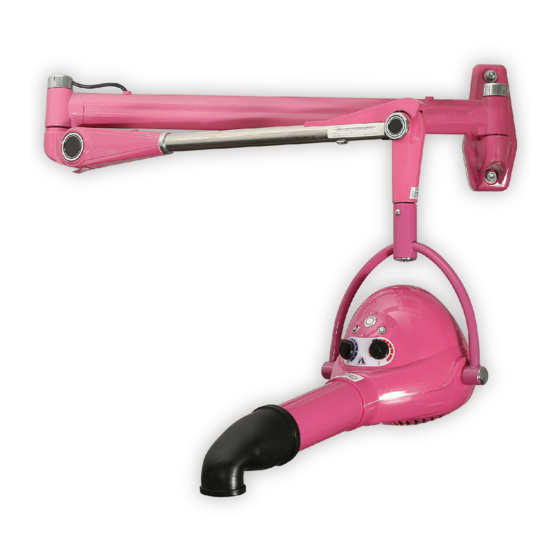
aeolus TD-906 Manual del usuario - Página 4
Navegue en línea o descargue pdf Manual del usuario para Producto para el cuidado de mascotas aeolus TD-906. aeolus TD-906 6 páginas. Ionic pet dryer

Overview
Upper Cover
Heating Switch with
Red Indicator
Wind Speed Knob
Wind Pipe
Diffuser
Stainless Steel
Washer
Fixing Cover
Bearing
Nylon Cushion
Stainless Steel Washer
Sliding Pipe
Lock Screw
Lock Slider
Spring Attachment
Column
Lower Flange
Washer
Power Switch with
White Indicator
Negative Ion Switch
with Blue Indicator
Heating
Temperature Knob
Hanging Ear
Tension Fixture Screw
Lower Shell
Lock Knob
Locknut
Bearing
Supporting Circle
Power Cord
Adjusting Handle
Adjusting Knob
Clamp Jacket
Spring
Upper Flange
Leg Assembly
Hexagon Screw
4
Installation
TD-905 Ionic Wall-hanging Dryer
Before Installation
1. Users must choose a solid wall sturdy enough to support the arm assembly and the
machine head.
2. We recommend that the height of wall bracket installation is 1840/1950mm from floor to the
bottom of the bracket. (See Fig.1)
3. Notice that a power socket with proper power must be ready on the wall within the distance
of 500mm from the wall bracket.
Installation
Tools: an impact drill, a screwdriver, a spanner.
1. The wall plate and the wall bracket are fixed together with bolts before delivery from factory.
Use a wrench to separate them (See Fig.2).
2. Use the wall plate as a template to drill three holes on the wall (See Fig.3). The hole
should fit the bolts we supplied.
3. Use the bolts to attach the wall plate to the wall and tighten the nuts (See Fig.4).
4. Attach the wall bracket to the wall plate and tighten the bolts (See Fig.5).
Caution: Because the wall bracket and wall plate will bear a heavy load, a correct and firm
installation is needed.
5. Remove the stoppers, screws, protector plate and hook lock from the arm (See Fig.6). Attach the
arm to the hanger and reinstall all the stopper, screws, protector plate and hook lock.
Caution:
a. Before assembling or using the arm, the stopper must be removed. Otherwise the arm
will be hard to lower and the stainless steel pipe will be damaged.
b. The hook lock must be tightly inserted in position, or the dryer head may fall off and
cause injuries!
6. Attach the arm to the wall bracket.
7. The dryer windpipe fixture angle could be adjusted by moving the windpipe up and down
easily. After long time operation, the joint between the dryer head and hanging ear may go
loose. When finding the tension screws on both sides get loose, turning the slot on it
clockwise could tighten the screws. (See Fig.7) .
Fig. 1
Fig. 2
Fig. 3
5
