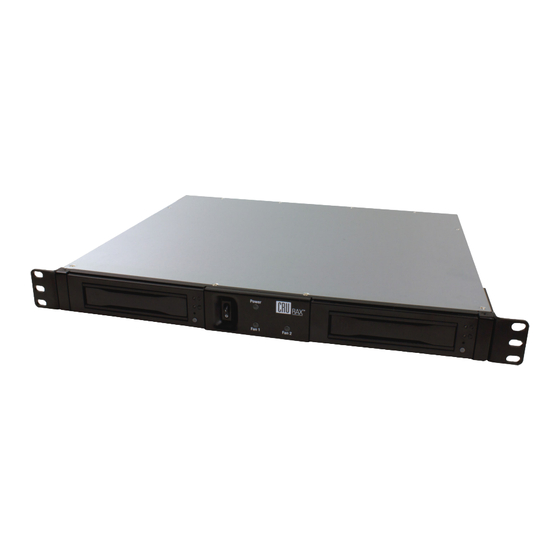
CRU Dataport RAX 215DC-XJ Manual del usuario - Página 2
Navegue en línea o descargue pdf Manual del usuario para Sistema de matriz de discos CRU Dataport RAX 215DC-XJ. CRU Dataport RAX 215DC-XJ 5 páginas.

Table of Contents
1. Pre-Installation Steps
1.1 Box Contents
1.2 Identifying Parts
2. Installation Steps
2.1 Installing Hard Drives
2.2 Rack Mounting Warnings
3. Operating RAX215DC-XJ
4. Usage with Mac and Windows Operating Systems
4.1 Usage with Macintosh Computers
4.1.1 Compatibility
4.1.2 Formatting a drive
4.1.3 Mounting and Ejecting Volumes
4.1.4 Creating a boot drive
4.2 Usage with Windows Operating System
4.2.1 Compatibility
4.2.2 Formatting a drive
4.2.3 Mounting and Ejecting Volumes
4.2.4 Creating a boot drive
5. Frequently Asked Questions
6. Technical Specifications
1. Pre-Installation Steps
1
1.1 Box Contents
1
Check the accessories with your RAX unit. Please contact CRU if any parts
1
are missing or damaged. The box should contain the following items:
1
1
RAX unit
2
Power cord
2
2
Screw kit
2
Quick Start Guide and warranty information
2
2
1.2 Identifying Parts
Take a moment to familiarize yourself with the parts of RAX215DC-XJ.
2
This will help you to better understand the remaining instructions.
3
3
Mounting Bracket
3
Ejection Handle
3
3
3
4
4
4cm Exhaust Fan
Multi-Lane SAS/SATA Port
2. Installation Steps
2.1 Installing Hard Drives
a. If the carrier is bundled with the unit,
push in on the handle to pop it out,
and then pull on the handle to remove
the carrier from the frame.
b. Use a Phillips-head screwdriver to remove the screws securing the
drive cover on either side of the carrier, and then remove the cover.
c. Carefully insert the drive (not included) into the carrier. Slide the
drive towards the Drive Carrier Board so that the I/O connector on
the drive mates with the connector on the Drive Carrier Board.
Accessories
Quantity
Power Switch (on/off)
RAX Power
Drive Ready /
LED
Bay Fan Error LED
RAX Fan Status LEDs
Disable Button
AC Power Inlet
1
1
1
1
Drive Activity LED
Error LED
Bay Power
Button
Page 1
