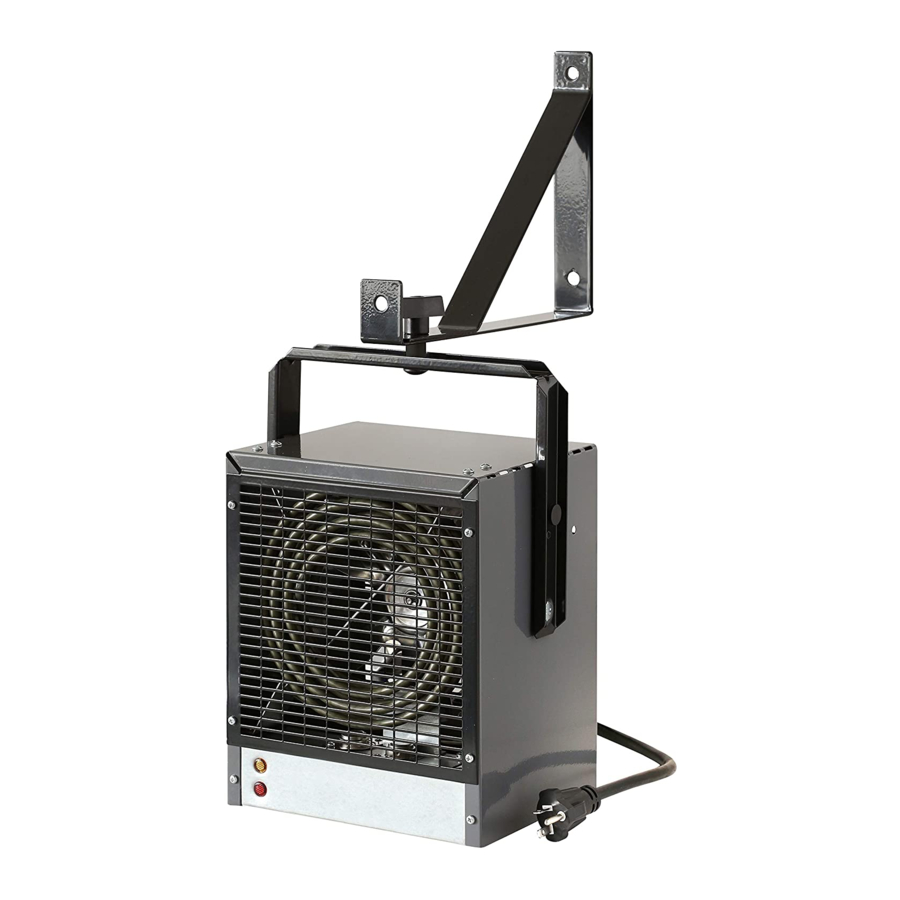
Dimplex DGWH4031 Manual de instrucciones importantes
Navegue en línea o descargue pdf Manual de instrucciones importantes para Calentador eléctrico Dimplex DGWH4031. Dimplex DGWH4031 6 páginas. Garage workshop heater
También para Dimplex DGWH4031: Manual del usuario (11 páginas), Manual del usuario (11 páginas), Manual del usuario (4 páginas), Instrucciones de instalación (2 páginas), Manual de inicio rápido (2 páginas)

Garage Workshop Heater
DGWH4031
IMPORTANT INSTRUCTIONS
When using electrical appliances, basic precautions should al-
ways be followed to reduce the risk of fire, electric shock and
injury to person, including the following:
1. Read all instructions before using this appliance.
2. The heater is hot when in use. To avoid burns, do not let
bare skin touch hot surfaces. The trim around the heater
outlet becomes hot during heater operation. Keep com-
bustible materials, such as furniture, pillows, bedding, pa-
pers, clothes, and curtains at least 3 feet (0.9m) from the
front of the unit.
3. Extreme caution is necessary when any heater is used by
or near children or invalids and whenever the unit is left
operating and unattended.
4. Always unplug the heater when not in use.
5. Do not operate any unit with a damaged cord or plug, or
if the heater has malfunctioned, or if the heater has been
dropped or damaged in any manner
spected by a reputable electrician before reusing.
6. Do not use outdoors.
7. The heater is not intended for use in bathrooms, laundry
areas and similar indoor locations. Never locate heater
where it may fall into a bathtub or other water container.
8. Do not run the cord under carpeting. Do not cover cord
with throw rugs, runners or the like. Arrange cord away
from traffic area and where it will not be tripped over.
9. To disconnect the unit, turn the controls off, then remove
the plug from the outlet.
10. Connect to properly grounded outlets only.
11. Do not insert or allow foreign objects to enter any venti-
lation or exhaust opening as this may cause an electric
shock or fire, or damage to the heater.
12. To prevent a possible fire, do not block air intake or ex-
haust in any manner.
13. All electrical heaters have hot and arcing or sparking parts
inside. Do not use in areas where gasoline, paint, or flam-
mable liquids are used or stored.
14. Do not modify the heater. Use it only as described in this
manual. Any other use not recommended by the manufac-
turer may cause fire, electric shock or injury to persons.
15. Always plug heaters directly into a wall outlet/receptacle.
Never use with an extension cord or relocatable power tap
(outlet/power strip).
16. This heater includes a visual alarm (red light) to warn that
parts of the heater are overheating. If the red light turns
on, immediately turn heater off and inspect for any objects
on or adjacent to the heater that may cause high tempera-
tures. DO NOT OPERATE WHEN RED LIGHT IS ON.
17. Always use a certified electrician should new circuits or
outlets be required.
18. Disconnect power supply before performing any cleaning,
maintenance or relocation of the unit.
19. When transporting or storing the unit and cord, keep in a
dry place, free from excessive vibration and store so as to
avoid damage.
SAVE THESE INSTRUCTIONS
RISK OF ELECTRIC SHOCK
DO NOT OPEN
NO USER-SERVICEABLE PARTS INSIDE
have the heater in-
CAUTION
Installation Instructions
GROUNDING INSTRUCTIONS
This heater is for use on 240
Volts. The cord has a plug as
shown on Figure 1. No adapter
should be used with this unit.
The type outlet is a 240 Volt
grounding outlet. When properly
installed, it provides a ground
connection through the cord to
the heater to protect the opera-
tor from electric shock.
WARNING: To reduce the risk of fire, do not store or use
gasoline or other flammable vapors or liquids in the vicinity of
the heater.
CAUTION: High temperature, risk of fire, keep electrical
cords, drapery, furnishings, and other combustibles at least 3
feet (0.9 m) from the front of the heater.
HEATER LOCATION AND CLEARANCES
Figure 2
Outside Wall
If heater is to be tilted on horizontal axis after mounting - en-
sure a minimum clearance of 26.5 in. (67 cm) between floor
and bottom of heater. Also, when mounted to ceiling, ensure a
minimum clearance of 3.5 in. (9 cm) from ceiling to top of hea-
ter. Ensure the air discharge is parallel to or away from walls.
INSTALLATION WITH HANGING BRACKET
!
NOTE: To prevent personal injury always use a licensed
electrician to install new outlets or circuits.
Use of the hanger bracket allows the unit to be rotated approx
Hanger Bracket Mounting Options
Ceiling
Figure 1:
Plug and outlet configuration
for 240 Volt, 20 Amp circuit
Plug
Ground
The heater is intended for flat use
on a hard floor, table top, desk or
on shelf, and the like, or suspended
on a wall or ceiling by means of
provided hanger bracket.
When suspended from wall or cei-
ling, heater should be located along
outside walls to provide perimeter
air circulation.
The discharge air should wipe the
walls without blowing directly on
them. (Figure 2)
Wall
Wall
7204830200R05
Outlet
