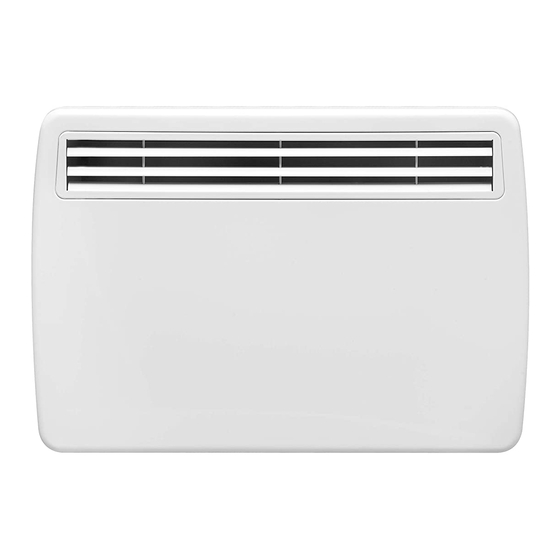
Dimplex PPC0500 Instrucciones - Página 2
Navegue en línea o descargue pdf Instrucciones para Calentador eléctrico Dimplex PPC0500. Dimplex PPC0500 3 páginas. Electronic convector
También para Dimplex PPC0500: Instrucciones importantes (3 páginas), Manual (9 páginas)

Wiring Diagram
Thermal Cutout
3. Attach the mounting bracket securely to the wall using
the appropriate hardware (not included) for the mounting
surface.
4. Mount the convector to the mounting bracket.
!
NOTE: Ensure that the air can enter and leave the heater
freely, through the inlets at the bottom and the outlets at the
front.
Electrical Connection
WARNING: Heater and controls should be installed by a
qualified contractor. Wiring procedures and connections
should be in accordance with the National Electric Code
(CEC & NEC) and local codes.
Connect the supply wire into a properly rated recess box.
!
NOTE: Consult your local electrical code for applicable
wire gauge.
Connect L1 from the power supply to the L1 labelled wire
from the unit, connect the L2 wire from the power supply to
the L2 labelled wire from the unit, and connect the ground to
the ground screw on the unit.
Operation
CAUTION: This panel convector must be properly
installed before it is used.
CAUTION: Prior to energization remove all construction
dirt (plaster, sawdust, etc.) from interior and exterior of panel
convector.
CAUTION: Avoid direct contact of paper, fabric, or
furniture with panel convector, to prevent a possible fire.
Dimplex panel convectors are designed and tested for safe
and trouble-free operation. Free airflow throughout the panel
convector is very important for the most efficient operation
of the panel convector. All Dimplex panel convectors are
protected against overheating by a built-in thermal cutout.
A thermal cutout will switch off the heater if for any reason
it overheats. Should the cutout operate, disconnect heater
from power supply and determine the reason for overheating.
Resolve the reason for overheating before attempting to use
the heater again. To reset the heater it is necessary to switch
off the power to the heater for several minutes.
The PPC features CONNEX
works with Dimplex single and multi-zone CONNEX
controllers to provide simple whole home connectivity and
comfort. CONNEX
controllers are available to control one
TM
or multiple CONNEX
heaters within a 50 ft. (15 m) radius.
TM
When power is first supplied to the PPC the Setpoint
Temperature will flash in the temperature display area. At
+
or � button can be pressed to have the
any time either the
temperature setpoint displayed again.
A. Setting/Temperature Display
The PPC is designed to control the temperature of a room
Ground
Temperature
Sensor
, a wireless technology that
TM
TM
Figure 3
L1
A
L2
C
B
D
A - Setting/Temperature Display
B - Economy Setting Icon
C - Set Back Temperature Setting
D - Comfort Setting Icon
E - Synchronized Icon
anywhere from 32-86°F (0-30°C). Pressing the
increase or decrease the desired temperature for the room to
be heated by 0.5° (in either °C or °F).
After 5 seconds the Setpoint Temperature will switch to
display the intake temperature of the room.
!
NOTE: Pressing the
between °C and °F.
B. Economy Setting
The Economy Setting can be used to change the Setpoint
Temperature for a variable period of time. By pressing the V
the Economy Setting will be enabled - signified by the icon
flashing. After the Set Back Temperature has been set, the
icon will become solid after three seconds and the Set Back
Temperature will be enabled.
To return back to the Comfort Setting press the V button and
the
icon will disappear and the
C. Set Back Temperature Setting
The Set Back Temperature Setting is used during periods
when the Economy setting feature is active. This temperature
adjustment can be set by pressing the V followed by the
� .
D. Comfort Setting
The Comfort Setting icon will be displayed when the heater
is in normal operation based on the Setpoint Temperature for
the room.
!
NOTE: Either the
dependent on the setting being used.
E. Synchronized Icon
The PPC and the controller will need to be synchronized, to
operate together. To do this:
1. On the PPC heater press and hold the V button for 3
seconds, both the
2. Press the � ,
3. Within 10 seconds press any button once on the
CONNEX
TM
!
NOTE: There is a 3 second delay between pressing the
last button the CONNEX
!
NOTE: To desynchronize a PPC heater from the
synchronized CONNEX
1. Press and hold the V for 3 seconds.
H
G
F
I
E
F - Lock Icon
G - Decrease Button
H - Increase Button
I - Menu Button
+
and � at the same time will toggle
icon will appear.
or
icon will always be visible,
and
icons will begin to flash.
+
and then V, on the PPC heater.
controller.
controller and the PPC heater.
TM
controller, on the PPC heater:
TM
+
or � will
+
or
