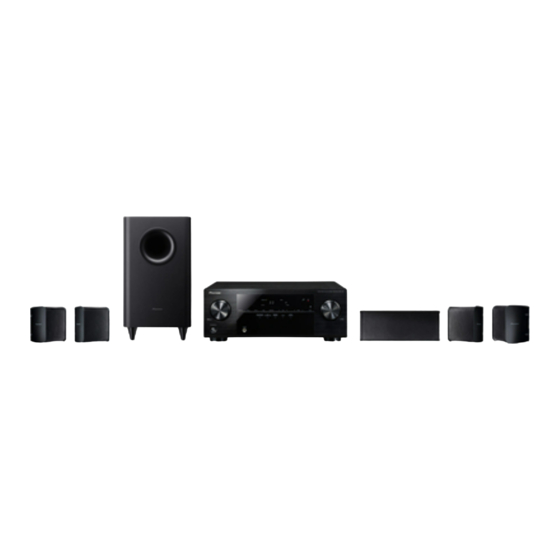
Pioneer HTP-071 Manual de instrucciones - Página 18
Navegue en línea o descargue pdf Manual de instrucciones para Receptor Pioneer HTP-071. Pioneer HTP-071 31 páginas. Home cinema package, subwoofer and speaker system
También para Pioneer HTP-071: Ficha de datos (1 páginas), Manual de instrucciones (10 páginas)

03
Basic playback
03
• When digital input (optical or coaxial) is selected, this
receiver can only play back Dolby Digital, PCM (32 kHz to
96 kHz) and DTS (including DTS 96 kHz/24 bit) digital
signal formats. The compatible signals via the HDMI
terminals are: Dolby Digital, DTS, PCM (32 kHz to 192 kHz
sampling frequencies), Dolby TrueHD, Dolby Digital Plus,
DTS-EXPRESS, DTS-HD Master Audio and DVD Audio
(including 192 kHz). With other digital signal formats, set
to A (analog).
Tip
• In order to enjoy the picture and/or sound from devices
connected to each terminal, select the input by doing the following.
Video/Audio
DVR/BDR
DVD
BD
CD
(HDMI)
HDMI
DVR/BDR IN
DVD IN
BD IN
VIDEO
Video
CD/SAT
CD
DVD
DVD
MONITOR
OUT
18
En
• You may get digital noise when a LD or CD player
compatible with DTS is playing an analog signal. To
prevent noise, make the proper digital connections
(page 13) and set the signal input to C1/O1 (digital).
• Some DVD players don't output DTS signals. For more
details, refer to the instruction manual supplied with your
DVD player.
• This product is not compatible with DSD decoding.
Set the output setting on the player to PCM when playing
SACD on a player compatible with SACD. See the player's
instruction manual for details.
Audio
1.
CD-R
(CD-R/TAPE input)
2.
Other than CD-R/TAPE input
SIGNAL SEL
C1
OUT
COAXIAL
CD/SAT
ASSIGNABLE
AUDIO
CD-R/TAPE
SURR BACK
Audio
OUT
PRE OUT
CD-R
CD
L
( Single )
SIGNAL SEL
TV
DVD
R
L
ANTENNA
IN
CD/SAT
IN
FRONT
AM LOOP
R
R
L
TUNER
L
IN
IN
R
FM
TV
DVD
UNBAL
75
SPEAKERS
Audio
1.
TV
(TV input)
2.
Other than TV input
SIGNAL SEL
O1
OPTICAL
IN
1
IN
1
(
CD-R / TAPE
)
(
TV
)
A
CENTER
SURROUND
R
L
A
Listening to the radio
The following steps show you how to tune in to FM and AM
radio broadcasts using the automatic (search) and manual
(step) tuning functions. Once you are tuned to a station you
can memorize the frequency for recall later—see Saving
station presets on page 19 for more on how to do this.
AUDIO
PARAMETER
TOP
CH
DVR/BDR
CD
CD-R
MENU
ADAPTER
TUNER
PORTABLE
VOL
PHASE
S.RETRIEVER
SIGNAL SEL
HOME
MENU
SETUP
PTY SEARCH
1 Press TUNER to select the tuner.
2 Use BAND to change the band (FM or AM), if necessary.
Each press switches the band between FM (stereo or mono)
and AM.
3 Tune to a station.
There are three ways to do this:
Automatic tuning
To search for stations in the currently selected band,
press and hold TUNE / for about a second. The
receiver will start searching for the next station, stopping
when it has found one. Repeat to search for other
stations.
Manual tuning
To change the frequency one step at a time, press
TUNE /.
High speed tuning
Press and hold TUNE / for high speed tuning.
Release the button at the frequency you want.
Improving FM sound
If the TUNE or ST indicators don't light when tuning to an FM
station because the signal is weak, set the receiver to the
mono reception mode.
Press BAND to select FM MONO.
This should improve the sound quality and allow you to enjoy
the broadcast.
TUNER EDIT
MASTER
TOOLS
VOLUME
MENU
ENTER
BAND
RETURN
MUTE
