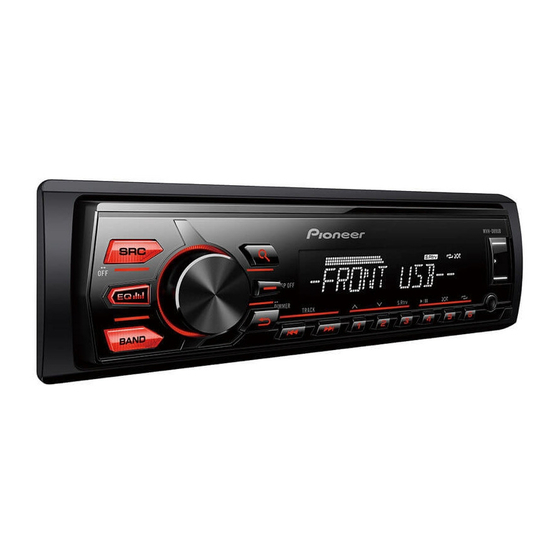
Pioneer MVH-089UB Manual del usuario - Página 9
Navegue en línea o descargue pdf Manual del usuario para Receptor Pioneer MVH-089UB. Pioneer MVH-089UB 16 páginas. Digital media receiver

Menu Item
CLOCK SET
12H/24H
[12H], [24H]
AUTO PI
[ON], [OFF]
AUX
[ON], [OFF]
ILLUMINATION settings
Menu Item
DIM SETTING
[SYNC CLOCK], [MANUAL]
BRIGHTNESS
[1] to [10]
Description
Set the clock (page 4).
Select the time notation.
Search for a different station with the same
programming, even if using a preset
station.
Set to [ON] when using an auxiliary device
connected to the unit.
Description
Change the display brightness.
Change the display brightness.
The available setting ranges differ
depending on [DIM SETTING].
Connections/Installation
Connections
WARNING
• Use speakers over 50 W (output
value) and between 4 Ω to 8 Ω
(impedance value). Do not use 1 Ω to
3 Ω speakers for this unit.
• The black cable is ground. When
installing this unit or power amp
(sold separately), make sure to
connect the ground wire first. Ensure
that the ground wire is properly
connected to metal parts of the car's
body. The ground wire of the power
amp and the one of this unit or any
other device must be connected to
the car separately with different
screws. If the screw for the ground
wire loosens or falls out, it could
result in fire, generation of smoke or
malfunction.
Ground wire
POWER AMP
Other devices
Metal parts of
(Another electronic
car's body
device in the car)
*1 Not supplied for this unit
Important
• When installing this unit in a vehicle
without an ACC (accessory) position
on the ignition switch, failure to
connect the red cable to the terminal
that detects operation of the ignition
key may result in battery drain.
ACC position
No ACC position
• Use this unit with a 12-volt battery
and negative grounding only. Failure
to do so may result in a fire or
malfunction.
• To prevent a short-circuit,
overheating or malfunction, be sure
to follow the directions below.
– Disconnect the negative terminal
of the battery before installation.
– Secure the wiring with cable
clamps or adhesive tape. Wrap
adhesive tape around wiring that
comes into contact with metal
parts to protect the wiring.
– Place all cables away from moving
parts, such as the shift lever and
seat rails.
– Place all cables away from hot
places, such as near the heater
outlet.
– Do not connect the yellow cable to
the battery by passing it through
En
9
