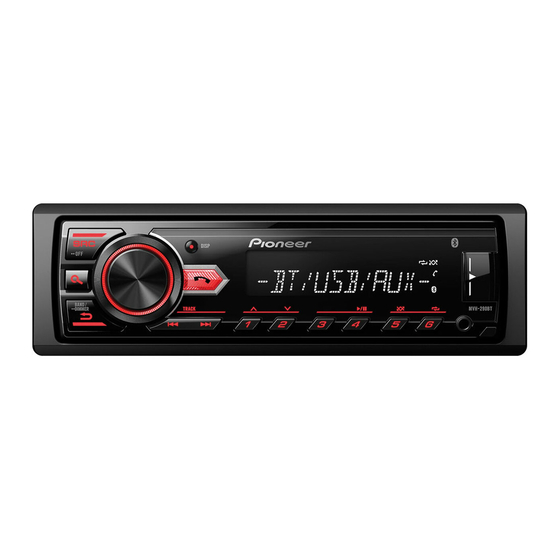
Pioneer MVH-291BT Manual del usuario - Página 15
Navegue en línea o descargue pdf Manual del usuario para Receptor Pioneer MVH-291BT. Pioneer MVH-291BT 20 páginas. Digital media receiver
También para Pioneer MVH-291BT: Manual del usuario (22 páginas), Manual de servicio (25 páginas)

C:\Program Files (x86)\Adobe\AdobeFrameMaker12\Structure\xml\Pioneer\1.0\020Chapter.fm
PioneerTest.book Page 15 Wednesday, May 11, 2016 9:52 AM
When not using the supplied
mounting sleeve
1
Line up the holes on the
mounting bracket with the holes
on the sides of the unit to attach
the bracket.
2
Screw in one screw on each side to
hold the unit in place.
Tapping screw (5 mm × 9 mm,
not supplied with product)
Mounting bracket
Dashboard or console
Using the included bracket
Check to make sure that the included
bracket matches your particular
model of vehicle and then attach it to
the unit as shown below.
Screw
Bracket
Removing the unit (installed
with the supplied mounting
sleeve)
1
Remove the trim ring.
Trim ring
Notched tab
• Releasing the front panel allows
easier access to the trim ring.
• When reattaching the trim ring,
point the side with the notched
tab down.
2
Insert the supplied extraction
keys into both sides of the unit
until they click into place.
3
Pull the unit out of the dashboard.
Installing the
microphone
• Install the microphone in a place
where its direction and distance
from the driver make it easiest to
pick up the driver's voice.
• Be sure to turn off (ACC OFF) the
product before connecting the
microphone.
Mounting on the sun visor
1
Fit the microphone into the
microphone clip.
Microphone
Microphone clip
2
Mount the microphone clip to the
sun visor.
Microphone clip
Clamps
Use separately sold clamps to
secure the lead where
necessary inside the vehicle.
Install the microphone on the sun
visor when it is in the up position. It
cannot recognize the driver's voice
if the sun visor is in the down
position.
Installation on the steering
column
1
Fit the microphone into the
Microphone Base.
15
En
KM637
KM637_UC
