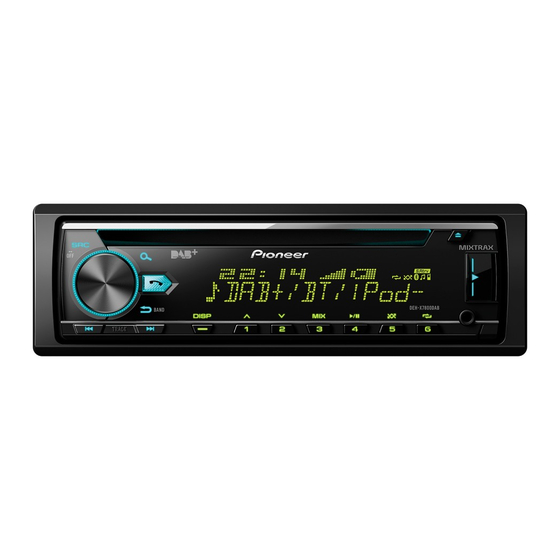
Pioneer MVH-X580DAB Manual del usuario - Página 6
Navegue en línea o descargue pdf Manual del usuario para Receptor Pioneer MVH-X580DAB. Pioneer MVH-X580DAB 28 páginas.

WARNING
Do not use the unit in standard mode when a speaker system for network mode is connected to the
unit. Do not use the unit in network mode when a speaker system for standard mode is connected to
the unit. This may cause damage to the speakers.
1
Turn the M.C. dial to select the options, then press to confirm.
To proceed to the next menu option, you need to confirm your selection.
Menu Item
Description
LANGUAGE
Select the language to display the text information from a
compressed audio file.
[ENG](English),
[РУС](Russian),
[TUR](Turkish)
CLOCK SET
Set the clock.
1 Turn the M.C. dial to adjust the hour, then press to confirm.
The indicator moves to the minute setting automatically.
2 Turn the M.C. dial to adjust the minute, then press to confirm.
FM STEP
Select the FM tuning step from 100 kHz or 50 kHz.
[100], [50]
DAB ANT PW
Supply power to a DAB antenna. Select this when using the
optional DAB antenna (AN-DAB1, sold separately) with the unit.
[ON]
[OFF]
No power is supplied to a DAB antenna. Select this when using a
passive antenna with no booster.
SPEAKER MODE
Switch between two operation modes: the 2-way network mode
(NETWORK) and the standard mode (STANDARD) according to
[STANDARD],
the connections you have established. For details on operation
[NETWORK]
modes, see page 14.
After selecting the appropriate mode, turn the M.C. dial to
select [YES], then press to confirm.
• You cannot complete the setup menu without setting the
[SPEAKER MODE].
• Once the speaker mode is set, this setting cannot be changed
unless the default settings of this product are restored. Restore
the default settings to change the speaker mode setting (refer
to SYSTEM RESET on page 6).
2
[QUIT :YES] appears when all the settings have been made.
To return to the first item of the setup menu, turn the M.C. dial to select [QUIT :NO],
then press to confirm.
3
Press the M.C. dial to confirm the settings.
When [DAB ANT PW] is set to [ON], [UPDATING LIST] appears in the display and the
service list will be updated.
NOTE
These settings other than [SPEAKER MODE] can be made at any time from the SYSTEM settings
(page 17) and INITIAL settings (page 5).
Canceling the demonstration display (DEMO OFF)
1
Press the M.C. dial to display the main menu.
2
Turn the M.C. dial to select [SYSTEM], then press to confirm.
3
Turn the M.C. dial to select [DEMO OFF], then press to confirm.
4
Turn the M.C. dial to select [YES], then press to confirm.
INITIAL settings
1
Press and hold SRC/OFF until the unit turns off.
2
Press and hold SRC/OFF to display the main menu.
3
Turn the M.C. dial to select [INITIAL], then press to confirm.
4
Turn the M.C. dial to select an option, then press to confirm.
NOTE
The options vary depending on the unit.
Menu Item
FM STEP
[100], [50]
REAR-SP
[FUL]
[SW]
SYSTEM UPDATE
[SYSTEM INFO], [S/
W UPDATE]
Autogoods "130"
Description
Select the FM tuning step from 100 kHz or 50 kHz.
Select when there is a full-range speaker connected to the rear
speaker output leads.
Select when there is a subwoofer connected directly to the rear
speaker output leads without any auxiliary amplifier.
Select [SYSTEM INFO] to confirm the latest system information
on the unit.
Select [S/W UPDATE] to update the unit to the latest software
and initialize the unit settings. For details on the latest software
and updating, visit our website.
5
En
