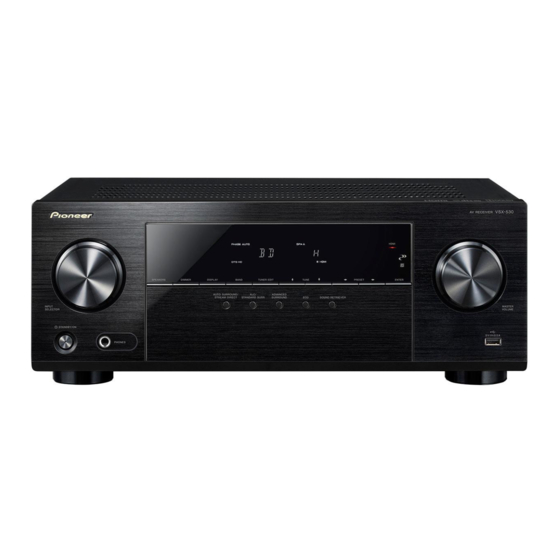
Pioneer VSX-1130-K Manual de inicio rápido - Página 9
Navegue en línea o descargue pdf Manual de inicio rápido para Receptor Pioneer VSX-1130-K. Pioneer VSX-1130-K 33 páginas. Av receiver
También para Pioneer VSX-1130-K: Manual de inicio rápido (25 páginas), Manual de referencia (27 páginas)

Initial Setup
Before you start
1
Put the batteries in the remote control.
2
Switch on the receiver and your TV.
STANDBY/ON
SOURCE
ALL ZONE STBY
RECEIVER
SUB ZONE CONTROL
MAIN
Z2
Z3
HDZ
SOURCE CONTROL
S
HDMI
3
Turn the subwoofer on and turn up the
volume.
CAUTION
• When inserting the batteries, make sure not to damage
the springs on the battery's * terminals. This can cause
batteries to leak or overheat.
Automatically setting up for surround sound (MCACC)
The Auto Multi-Channel ACoustic Calibration (MCACC) setup
uses the supplied setup microphone to measure and analyze
the test tone that is outputted by the speakers.
Important
• Measure in a quiet environment.
1
Connect the supplied setup microphone.
• Set to ear height when using a tripod etc., for the
microphone.
Setup microphone
Tripod
The Full Auto MCACC screen appears on your TV.
2a.Full Auto MCACC
Exit
Return
Speaker System
: 7.2ch/5.2.2ch
EQ Type
: SYMMETRY
MCACC
: M1.MEMORY 1
Dolby Enabled Speaker :
NO
SP to ceiling
:
– – –
Measurement Type :
Expert
START
2
Press MAIN RECEIVER on the remote control,
then press the ENTER button.
• Automatic measuring will start.
• Measuring will take about 3 to 12 minutes.
3
Follow the instructions on-screen.
• Automatic setting is complete when the Home Menu
screen appears.
• If Reverse Phase is displayed, the speaker's wiring (+ and –)
may be inverted. Check the speaker connections.
Even if the connections are correct, Reverse Phase may be
displayed, depending on the speakers and the surrounding
environment. This does not affect measurements, however,
so select Go Next.
• If ERR is displayed, check that speaker is properly connected.
• When the power turns off, refer to the "Frequently asked
questions" in the booklet.
4
Make sure the setup microphone is
disconnected.
9
