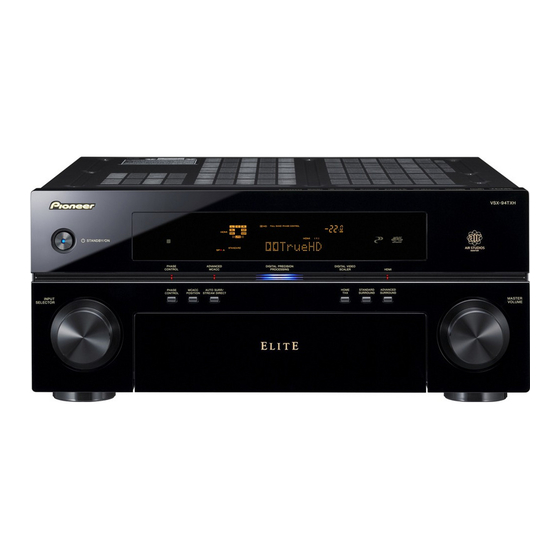
Pioneer VSX94TXH - Elite AV Receiver Manual de instrucciones - Página 3
Navegue en línea o descargue pdf Manual de instrucciones para Receptor Pioneer VSX94TXH - Elite AV Receiver. Pioneer VSX94TXH - Elite AV Receiver 19 páginas. Elite a/v receiver firmware update instructions for hdmi, dsp, event, and main microcomputers, dsp1 & dsp2 flash rom
También para Pioneer VSX94TXH - Elite AV Receiver: Especificaciones (2 páginas), Manual de instrucciones (8 páginas)

Connection
Chapter 2:
Connection
Connecting to the network through
LAN interface
Caution
• Before making or changing the connections, switch
off the power and disconnect the power cord from the
power outlet. Plugging in should be the final step.
VSX-94TXH
MULTI-ZONE
& SOURCE
MULTI-ZONE
/REC SEL
& SOURCE
OUT1
FM UNBAL 75 W
ZONE3
IN
IR
1
ZONE2
OUT2
OUT
MAIN
IN
2
LAN (10/100)
ZONE2
HDMI
MONI-
OPTICAL
TOR
IN
1
(DVD/LD)
OUT
CONTROL
IN
1
(BD)
IN
2
IN
1
IN
ASSIGN-
(TV/SAT)
ABLE
OUT
1
2
IN
2
IN
2
(BD)
IN
1
OUT
Y
Y
IN
3
(DVR/
(DVD/
VCR 1)
LD)
IN
IN
4
3
P
P
B
B
(CD-R)
1
4
ASSIGN-
ABLE
P
P
R
R
IN
1
1
2
(DVD/
IN
4
3
IN
2
IN
LD)
Y
Y
(CD)
IN
2
(BD)
COAXIAL
P
P
B
B
OUT
IN
P
P
R
R
XM
ASSIGNABLE
(VIDEO/GAME 1)
1
4
ASSIGNABLE
1
3
DIGITAL
COMPONENT VIDEO
S-VIDEO
LAN cable
(sold separately)
Router
LAN
3
2
1
WAN
to LAN port
PC 1
Note
1 • To listen to Internet radio stations, you must sign a contract with an ISP (Internet Service Provider) beforehand.
• Video files cannot be played back.
• With Windows Media Connect or Windows Media Player 11, you can even play back copyrighted audio files on this receiver.
2 • Compatible USB devices include external magnetic hard drives, portable flash memory (particularly keydrives) and digital audio players (MP3 players)
of format FAT16/32. It is not possible to connect this unit to a personal computer for USB playback.
• Pioneer cannot guarantee compatibility (operation and/or bus power) with all USB mass storage devices and assumes no responsibility for any loss of
data that may occur when connected to this receiver.
AUDIO
ANTENNA
PHONO
AM LOOP
IN
MULTI-ZONE & SOURCE
ZONE2
R
L
CD
OUT
IN
MONI-
TOR
DVD/LD
OUT
IN
OUT
BD
IN
CD-R/
TAPE/
MD
TV/SAT
1
IN
IN
IN
R
L
R
L
VIDEO /
F
GAME 1
IN
2
IN
SUB W.
CENTER
OUT
SUR-
DVR/
VCR 1
ROUND
IN
R
L
OUT
DVR/
SURROUND BACK
VCR 2
IN
1
2
12 V TRIGGER
R
L
(DC OUT 12V/
TOTAL 50 mA MAX)
VIDEO
AUDIO
Modem
Internet
LAN cable
(sold separately)
to LAN port
PC 2
By connecting this receiver to the network via the LAN
terminal, you can play back audio files stored on
components on the network, including your PC, and
listen to Internet radio stations.
Connect the LAN terminal on this receiver to the LAN
terminal on your router (with or without the built-in DHCP
server function) with a straight LAN cable (CAT 5 or
higher).
Turn on the DHCP server function of your router. In case
your router does not have the built-in DHCP server
function, it is necessary set up the network manually. For
details, see Setting up the network on page 10.
The specifications of a LAN terminal
LAN terminal . . . . . . . . . . . . . . . . . . . . . . . . . . . . Ethernet jack
Using the USB interface
It is possible to listen to two-channel audio
USB interface on the front of this receiver.
AUDIO
PARAMETER
VIDEO
(TUNE)
SPEAKERS
TUNER EDIT
PHONES
(ST)
ENTER
(ST)
USB
(TUNE)
SETUP
RETURN
This receiver
1
10BASE-T/100BASE-TX
2
using the
MULTI – ZONE &
SOURCE/REC SEL
SIGNAL
SB ch
STEREO/
BAND
SELECT
PROCESSING
F.S.SURR
CONTROL
ON/OFF
VIDEO/GAME 2 INPUT
MCACC
SETUP MIC
DIGITAL IN
S-VIDEO
VIDEO
L
AUDIO
R
USB mass
storage device
02
3
En
