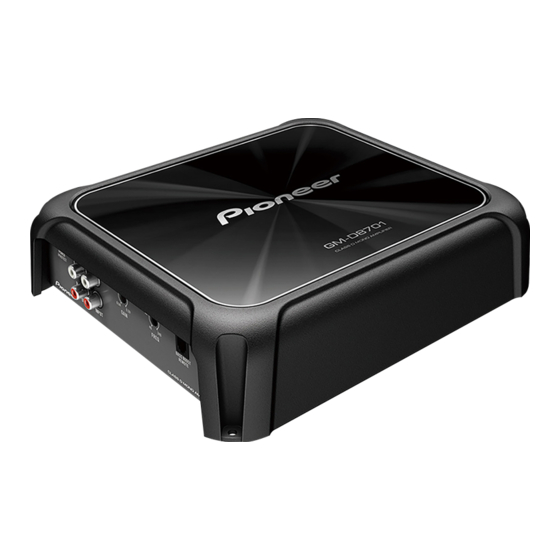
Pioneer GM-DX971 Manual del usuario - Página 3
Navegue en línea o descargue pdf Manual del usuario para Amplificador Pioneer GM-DX971. Pioneer GM-DX971 16 páginas. Class d mono amplifier
También para Pioneer GM-DX971: Manual del usuario (16 páginas)

- 1. About this Product
- 2. Before Connecting/ Installing the Amplifier
- 3. Setting Gain Properly
- 4. Connection Diagram
- 5. Before Connecting the Amplifier
- 6. Connecting the Speakers
- 7. Connections When Using the Speaker Input Wire
- 8. Solderless Terminal Connections
- 9. Connecting the Speaker Output Terminals
- 10. Before Installing the Amplifier
- 11. Attaching the Bass Boost Remote Control
- 12. Example of Installation on the Floor Mat or Chassis
- 13. Specifications
(_
B
_
e_
fo
_r_
e_ y_
o_
u_
s_
t a _rt
_ _ _ _ )
BE SURE TO OBSERVE THE FOLLOWING
GUIDELINES:
•
Do
not
turn
up the volume so high
that
you
can't hear what's around
you.
•
Use
caution ortemporarily
d iscont inue use
in
potentially
hazardous
situations.
•
Do not use headphones
while operating
a
motorized
vehic
le; the use
of headphones
may create a traffic hazard
and is illegal
in
many areas.[!)
About This Product
This product is
a mono
amplifier
for subwoofer.
If
both
L (left) and R
(right) channels are connected
to the RCA input
of
this
product, output is
mixed
because
this
product
is
a
mono
amplifier.[!)
Before connecting/
installing the amplifier
AwARNING
•
Th
is
product contains chemicals
known
to
the
State of
California and other
governmental
en-
tities
tocause cancer
and
birth
defects or
other
reproductive
harm.
Wash hands aner
handling.
•
Slots
and openings
in
the
cabinet are
provided
for
ventilation
to ensure
reliable operation of
the product, and to protect it from
overheat-
ing. To prevent
f
ire
hazard, the
openings
should
never be blocked
or covered with
items
(such as
papers, floor mat,
cloths).
•
This
unit is
for
vehicles with a 12V
battery
and
negative
grounding. Before
installing in re-
creational vehicles,
trucks
or
buses,
check
the
battery
voltage.
•
When installing this
unit, make sure
to
con-
nect
the ground wire first. Ensure that the
ground wire is
properly connected
to metal
parts of the car's
body.
The ground wire
of
the
one
of this unit must be connected to the
car
separately with different
screws.
If the
screw
En
for
the
ground wire
loosens
or
fal
ls
out,
it
could
result
in
fire, generation
of smoke or
malfunction.
•
Be
sure
to
install
the fuse
to the
battery
wire.
•
Always
use a fuse of the rating prescribed.
The use of an
improper
fuse could result
in
overheating and smoke, damage to
the
pro-
duct and injury,
including
burns.
•
Check the connections of the
power
supply
and speakers if
the
fuse
of the
separately
sold
battery wire
or the amplifier fuse blows.
Deter-
mine and
resolve the
cause,
then replace the
fuse
with and identical
equivalent.
•
Always install the amplifier on a flat surface.
Do not install the amplifier
on a
surface
that
is
not
flat
or on a surface with a protrusion.
Doing
so could
result
in
malfunction.
•
When installing the amplifier, do not allow
parts such as extra screws
to
get caught be-
tween the amplifier and
the
automobile.
Doing
so could
cause
malfunction.
•
Do not
allow
this
unit
to
come
into
contact
with
liquids.
Electrical
shock
could result.
Also,
damage to th
is
unit,
smoke,
and
over-
heating could
result
from
contact
with
liquids.
The surfaces of the amplifier
and any
attached
speakers may also heat up and cause minor
burns.
•
In the
event of any abnormality,
the power
supply to the amplifier is cut off
to
prevent
equipment malfunction.
If th
is
occurs, switch
the
system
power
off and check
the power
supply
and
speaker connections.
If
you are
un-
able to determine the
cause,
please
contact
you
r dealer.
•
Always
disconnect the negative
8
terminal
of
the
battery
beforehand to avoid the risk of
electric
shock or short circuit
during
installa-
tion.
•
Do not attempt
to disassemble
or
modify th
is
unit.
Doing
so may
result
in
f
ire,
electric
shock
or other
malfunction.
