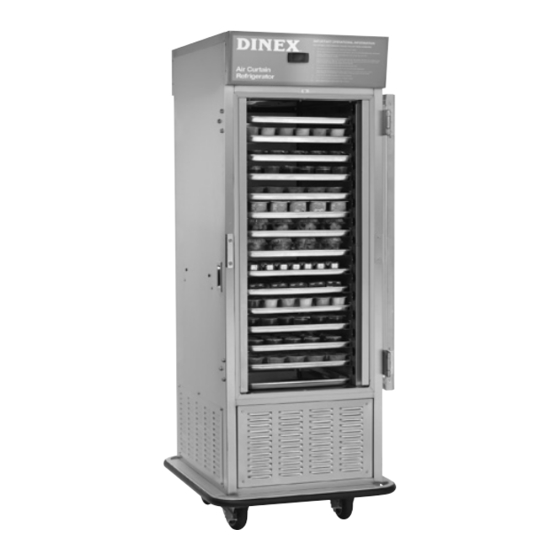
Dinex DXIRAC15 Manual del usuario - Página 8
Navegue en línea o descargue pdf Manual del usuario para Frigorífico Dinex DXIRAC15. Dinex DXIRAC15 10 páginas. Air curtain refrigerator

DOOR (CONTINUED)
9. Reinstall the door handle, door trip plate and (4) screws into the same
location as they were removed. The door pull should point up instead
of down.
10. Remove the (6) bolts, (3) for the top, (3) for the bottom, located on
the side of the cabinet opposite from the door hinges and set aside.
11. With assistance, remove the (6) bolts that attach the door hinges to
the cabinet. There are (3) on the top and (3) are the bottom.
12. Rotate the door 180 degrees and mount the top and bottom hinges
using the (6) bolts previously removed. The door pull should be
pointing down.
13. On the side where the hinges were previously, reinstall the (6) bolts.
14. Adjust the hinges, door handle and door catch as needed to ensure
there is a good seal and door closure.
CASTERS
Some casters are equipped with Zerk grease fittings so that they may
be easily lubricated with a grease gun. It is recommended that all caster
bearings need to be lubricated with a high quality multi-purpose grease
that has good extreme pressure and anti-wear characteristics, as well
as withstands temperature range that fits the application requirements.
Wheel and swivel bearings last longer if lubricated regularly.
It is recommended to lubricate the bearings at least once every six
months. Lubrication will be required more frequently if carts are cleaned
with a hot water or steam cleaning system.
GENERAL MAINTENANCE INSTRUCTIONS
Air Curtain Refrigerator | 8
HINGES
Your cart doors and hinges have been factory aligned to assure positive
latching and smooth action. If doors are removed for cleaning, we
recommend that they be put back on the same cart to assure the best
possible alignment and operation. Correct hinge alignment is based on
the correct gasket compression of 1/32" to 1/16". The hinges also need
to be aligned with the door strike to accommodate the locking cylinder.
To adjust hinge alignment, it is recommended to use assistance. It is
recommended to loosen the bolts on the cabinet side of the hinge and
apply pressure inward on the door to form the seal on the gasket. Align
the door as needed and while maintaining pressure, tighten the bolts.
LATCHES
Check frequently to insure that all door latches are secure. Latches may
become "sticky" due to residue build-up from daily use and cleaning.
Lubricate latches regularly with WD-40, silicone spray, graphite or other
commercial lubricants for stainless steel products. Do not use oil. If
latches require adjustment, it is recommended to use assistance. First,
loosen the screws on the latch. Next, align the latch to compress the
seal of the gasket by applying pressure to the door while the screws
are still loose. Lastly, while maintaining pressure to the door, tighten the
screws on the latch.
PERIMETER BUMPERS
Vinyl which has been dislodged from the channel due to severe
bumping or scraping can corrected by carefully utilizing a screwdriver to
guide the rubber bumper back into the bumper channel.
DRAINING CONDENSATE PAN
Depending on environmental and operating conditions, manually
draining the condensate pan may be necessary. It is recommended
that the condensate levels in the pan be checked regularly to gauge the
necessary frequency, if needed, of manually draining the pan. It is also
recommended that the condensate level be checked prior to transport
of the unit to prevent possible spillage.
To manually drain the condensate pan, open the valve located on
the underside and towards the rear of the unit. Rotate the valve lever
counterclockwise until it stops (parallel with tubing). Once condensate
pan has been emptied, turn valve lever clockwise until it stops
(perpendicular to tubing).
CLOSED
OPEN
