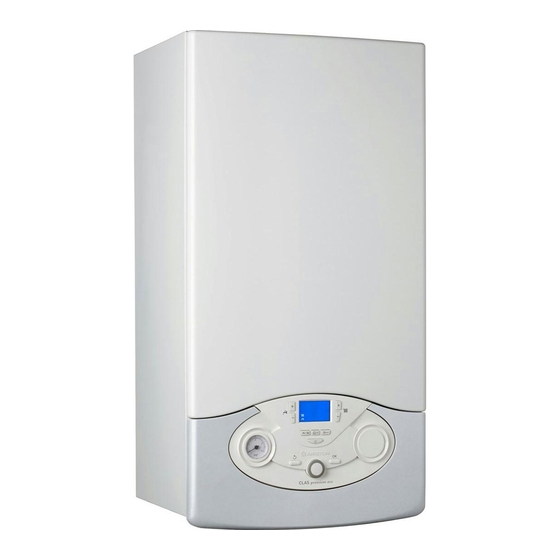
Ariston CLAS EVO 28 FF Instrucciones de instalación y mantenimiento - Página 25
Navegue en línea o descargue pdf Instrucciones de instalación y mantenimiento para Caldera Ariston CLAS EVO 28 FF. Ariston CLAS EVO 28 FF 48 páginas. Wall-hung gas boiler
También para Ariston CLAS EVO 28 FF: Manual del usuario (13 páginas)

Verifi ca delle regolazioni gas
Rimuovere il mantello frontale e procedere come sotto riportato.
Controllo della pressione di alimentazione.
1. Allentare la vite "1" (fi g. a) ed inserire il tubo di
raccordo del manometro nella presa di pressione.
2. Mettere la caldaia in funzione alla potenza
massima attivando la "funzione spazzacamino".
Premere il tasto
per 10 secondi, sul display
viene visualizzato TEST ed il simbolo
La
pressione
di
corrispondere a quella prevista per il tipo
di gas per cui la caldaia è predisposta.
3. Al termine del controllo stringere la vite "1" e controllarne la tenuta.
4. La funzione spazzacamino si disattiva automaticamente dopo 10
minuti o premendo il tasto
(a)
Controllo della potenza massima sanitario
1. Per controllare la potenza massima sanitario, allentare la vite "2"
(fi g.b) ed inserire il tubo di raccordo del manometro nella presa
di pressione.
2. Scollegare il tubetto di compensazione della camera aria.
3. Mettere la caldaia in funzione alla potenza massima sanitario
attivando la "funzione spazzacamino" .
Premere il tasto
display viene visualizzato TEST ed il simbolo
. La caldaia viene forzata alla massima potenza
riscaldamento.
Ruotare l'encoder
per attivare la caldaia alla
massima potenza sanitario. Sul display viene
visualizzato il simbolo
La pressione di alimentazione deve corrispondere
a quella prevista nella Tabella Riepilogativa Gas per il tipo di gas per
cui la caldaia è predisposta. Se non dovesse corrispondere togliere il
cappuccio di protezione ed agire sulla vite di regolazione "3" (fi g. c).
4. Al termine del controllo stringere la vite "2" e controllarne la tenuta.
5. Rimontare il cappuccio di protezione del modulatore.
6. Ricollegare il tubetto di compensazione.
7. La funzione spazzacamino si disattiva automaticamente dopo 10
minuti o premendo il tasto
(c)
.
alimentazione
deve
.
1
per 10 secondi, sul
.
.
3
Checking the gas settings
Remove the front casing and proceed as described below.
Supply pressure check
1. Loosen screw "1" (Fig. a) and insert the pressure
gauge connection pipe into the pipe tap.
2. Switch the boiler on at maximum power, enabling
the "fl ue sweep" function.
Press the
appear TEST and the icon
The supply pressure should correspond to the value
established in relation to the type of gas for which the
boiler is designed.
3. When the check is over, tighten screw "1" and make sure it is
securely in place.
4. The "fl ue sweep function" is automatically deactivated after 10
minutes or when the
(b)
Checking the D.H.W. maximum power
1. To check the maximum power level, loosen screw "2" (Fig. b) and
insert the pressure gauge connection pipe into the pipe tap.
2. Disconnect the air chamber compensation tube.
3. Switch the boiler on at maximum power, enabling the "fl ue sweep"
function.
Press the
appear TEST and the icon
the maximum heating power. Rotate the encoder
to forced the boiler at the maximum DHW power. On
the display appear the icon
The supply pressure should correspond to the value
shown in the "Gas Settings" table, in relation to the
type of gas for which the boiler is designed. If it does
not correspond, remove the protective hood and
tighten or loosen the adjustment screw "3" (fi g. c).
4. When the check is over, tighten screw "2" and make sure it is
securely in place.
5. Replace the cover protecting the modulator.
6. Reconnect the compensation tube.
7. The "fl ue sweep function" is automatically deactivated after 10
minutes or when the
(d)
commissioning
button for 10 seconds, on the display
.
button is pressed.
2
button for 10 seconds, on the display
. The boiler is foced to
.
button is pressed.
4
25
