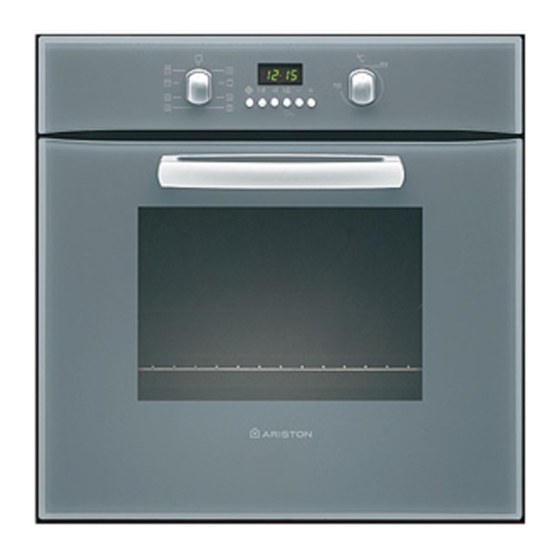
Ariston FB 86 P Manual de instrucciones de instalación y uso - Página 11
Navegue en línea o descargue pdf Manual de instrucciones de instalación y uso para Horno Ariston FB 86 P. Ariston FB 86 P 15 páginas. Multifunction oven with self-cleaning by fast clean
También para Ariston FB 86 P: Manual de instrucciones de instalación y uso (50 páginas)

Cooking is by definition the passage from a raw state to a cooked one.
The consequent result is appreciated according to different criteria: the colouring, any development in the
dish, its smoothness or tenderness, how cooked you want it to be, etc... .
The oven settings (temperatures and cooking time) obviously depend on two important parameters:
- the size of the food or dish,
- the ability of the food to brown (quantity of sugar and eggs in the recipe).
The cooking settings contained in our table were calculated according to precise parameters and you may feel
the need to make slight changes to the same in order to adapt them to your own dish and your desired degree
of cooking.
Inside the oven
We recommend you clean your oven each time you use it,
especially after cooking roasts. In fact, it is advisable to
prevent food residue from building up during cooking: the
residue would be re-cooked each time the oven is used
and would char and release smoke and unpleasant
odours.
Oven exterior
Clean the enamelled or stainless steel exterior surfaces of
your oven using a sponge soaked in soapy water, making
sure you rinse and dry these thoroughly, without using
abrasive or corrosive products which could damage them.
Stainless steel
Rinse stainless steel parts and dry them thoroughly using
a soft cloth. Use a specific non-abrasive product to remove
tougher stains,
Using aluminium foil
To avoid having to clean the bottom of the oven, you may
be tempted to line the same with some aluminium foil. We
strongly advise against this. The aluminium foil sheet
in direct contact with the heated enamel coating could
melt and damage the enamel coating inside the oven
irreversibly.
Cleaning the rotisserie and other accessories
The rotisserie can be removed completely thanks to the 2
wing nuts. The elements comprising the rotisserie assembly
should be cleaned together with the other accessories
(dripping pan, grid) in the sink using a damp sponge and
ordinary detergent or even in your dishwasher.
Disassembling the oven door
The oven door can easily be removed to clean the space
between the bottom of the door and the front of the oven. To
disassemble the door, proceed as follows:
• open the oven door fully,
• lift up and turn the small levers situated on the two hinges,
• shut the door, but not completely,
• grip the door on the two external sides and pull it towards
you, pulling it out of its seat.
Cooking advice
Maintenance
Disassembling oven door FO 97 P - FD 97 P - FD 96 P
1
Disassembling oven door FC 97 P - FB 86 P
1
Re-assemble the door by following the above procedures
backwards.
Replacing the oven lamp
• Always unplug the appliance from the mains or switch
off the main switch before all operations.
• With the aid of a narrow, flat item (such as a screwdriver
or a spoon handle, etc...), remove the glass cover.
• Unscrew the lamp and replace it with another featuring
the same characteristics:
- voltage 230/240 W
- wattage 15 W
- type E 14
• Replace the glass cover and ensure you reposition the
seal correctly.
35
2
3
2
3
Oven
compartment
Lamp
Seal
Glass door
