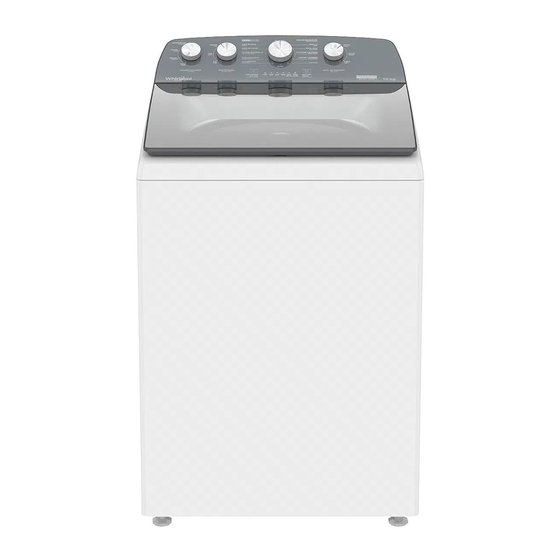
Whirlpool 8MWTW1713 Manual de uso y mantenimiento - Página 31
Navegue en línea o descargue pdf Manual de uso y mantenimiento para Lavadora Whirlpool 8MWTW1713. Whirlpool 8MWTW1713 41 páginas.

Detergent and Softener dispenser cleaning.
1
2
5
Interior Cleaning
Exterior Cleaning
1. Use a damp and soft cloth or a sponge to clean any
spill.
2. Use all-purpose cleaner for surfaces, if needed.
IMPORTANT: In order to avoid damage to the washer
finish, do not use abrasive products.
CARE DURING VACATIONS AND LACK OF USAGE
Start your washer only when you are at home. If you are
going to move or you are not using it for a certain period
of time, follow these steps:
1.Unplug the washer or disconnect the power supply.
2.Close the water supply to the washer to avoid floods due
to increase of water pressure.
CARE DURING STORAGE AND WINTER
IMPORTANT: In order to avoid damages, install and
keep the washer in a place where it cannot get frozen.
Due to the fact that some water may remain in the
hoses, freezing can damage the washer. If you are
going to store or move your washer during a harsh
winter season, condition it for winter.
Prepare the washer for winter:
1. Close both water outlets; disconnect and drain the water
of the filling water.
2. Pour 1 liter of RV antifreeze in the container and make the
washer start in a cycle of Rinse/Spin during 30 seconds to
mix the antifreeze with the remaining water.
3. Unplug the washer or disconnect the energy supply.
1. Remove the dispenser drawer.
To do it, open it and pull lightly
upwards.
2. Remove the siphon from the
liquid fabric softener by pulling it
upwards.
3. Rinse the dispenser and the
siphon under the warm water jet,
clean it with a damp cloth to
remove the liquid fabric softener
and/or detergent residuals and
then put again the siphon of the
softener in its place.
4. Clean the box where the
dispenser sits and clean with a
damp cloth removing detergent
and/or softener residuals.
5. Put the dispenser drawing by
pushing it lightly on the box
where it sits.
Clean the basket and
the agitator or Impeller
3D®
cleaning
exterior with a clean
and damp cloth.
WASHER TRANSPORTATION
1.Close both water faucets. Disconnect and discard the
water from the inlet water hoses.
2.If the washer is going to be transferred during a harsh
winter season, follow the instructions described in "Prepare
the washer for the winter".
3.Disconnect the draining hose from the drain system and
drain the remaining water in a pot or bucket. Disconnect the
draining hose from the lower part of the washer.
4.Unplug the electric cable.
5.Take the inlet and drain hoses inside the washer tub.
6.Take the electric cable over the border and put it in the
washer tub.
7. Place the packing materials tray for the shipment of the
originals again in the interior of the washer. If you do not
have the packing tray, put clothes or heavy towels in the
opening of the tub. Close the lid and place tape on it through
the front of the washer. Keep the lid adhered with tape until
the washer is in its place.
the
HOW TO REINSTALL OR USE THE WASHER AGAIN
To reinstall the washer after the lack of use, vacations,
storing during winter or moving:
1. Consult the Installation Instructions to locate, level
or connect the washer.
2. Before using the washer again, start the operation
following the procedure recommended as follows
To use the washer again:
1. Let the water run by the pipes and hoses. Connect the
water inlet hoses again. Open both water faucets.
2. Plug the washer or reconnect the powder supply.
3. Operate the washer in the Color Clothes cycle to clean it
and remove antifreeze, if used. Use the half of the amount of
detergent recommended by the manufacturer for a medium
size load.
Risk of Electric Shock
Plug into a grounded 3 prong outlet.
Do not remove the ground terminal.
Do not use a plug adapter.
Do not use an extension cord.
Failure to follow these instructions can
result in death, fire, or electrical shock.
31
