Whirlpool WVU37UC4F Instrucciones de instalación y manual de uso y mantenimiento - Página 12
Navegue en línea o descargue pdf Instrucciones de instalación y manual de uso y mantenimiento para Campana de ventilación Whirlpool WVU37UC4F. Whirlpool WVU37UC4F 36 páginas. 24" 61 cm range hood
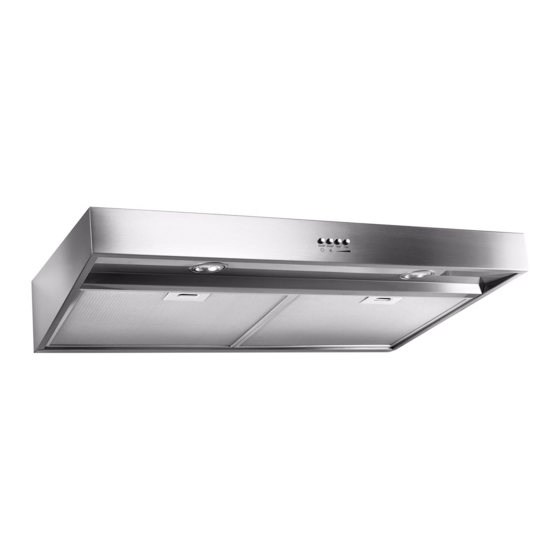
También para Whirlpool WVU37UC4F: Instrucciones de instalación (2 páginas)
Install Range Hood
1. Remove the power supply knockout from the top or rear of
the vent hood (depending on the incoming location of your
home power supply cable) and install a UL Listed or CSA
Approved ¹⁄
" strain relief.
2
A
A. Power supply knockout
2. Align the exterior edge of the mounting brackets with the
exterior edges of the upper cabinet.
IMPORTANT: The brackets should touch the upper cabinet.
With a pencil, mark the upper holes on the brackets.
A. Cabinet front face edge
B. Rear installation bracket marks
3. Using a #2 Phillips screwdriver, install the drywall anchors.
Using #8-18 x 1" (4.2 x 25 mm) flat-head #2 Phillips screws,
install the mounting brackets using the upper holes.
NOTE: For installation to a surface other than drywall, it
is recommended that a qualified contractor determine the
anchoring method.
12
4. With the aid of a 4.5 x 13 mm screw, mount 2 brackets on
the inside front or side face of the cabinet, flush with the
cabinet bottom.
5. Lift the range hood into place, positioning the rear slots over
the mounting brackets.
6. Mount a round washer and a 4.5 x 13 mm screw to install the
mounting brackets on the front of the cabinet.
B
A
A. #8-18 x
5
B. Washer
7. (Optional) Insert a #8-18 x
mounting tab (A) on each side of the range hood shown in
the following image.
A. #8-18 x
/
5
8
/
" (4.2 x 16 mm) screw
8
⁄
" (4.2 x 16 mm) screw into the
5
8
A
" (4.2 x 16 mm) screw