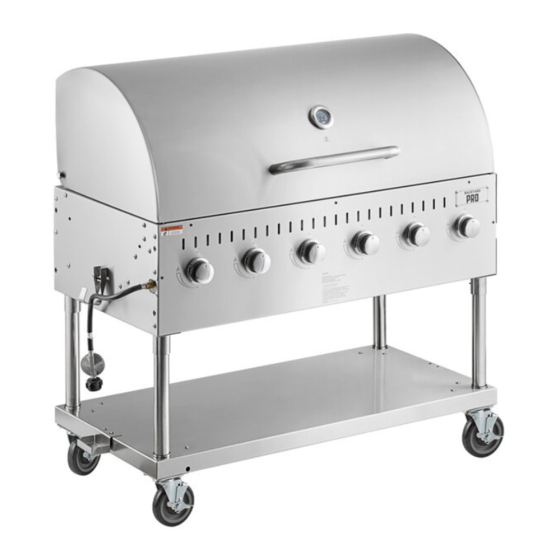
Backyard Pro 554LPG36RD Manual del usuario - Página 9
Navegue en línea o descargue pdf Manual del usuario para parrilla Backyard Pro 554LPG36RD. Backyard Pro 554LPG36RD 17 páginas. Liquid propane grill roll dome
También para Backyard Pro 554LPG36RD: Manual de inicio rápido (6 páginas)

LP CYLINDER LEAK TEST
A leak test should be done each time a cylinder is refilled or exchanged. Do not smoke or use
any type of flammable material in the area during this leak test.
Do not use an open flame to check for leaks.
Test outside in a well ventilated area.
1.
2. Use a paintbrush and a solution of 50% liquid soap and 50% water.
Do not use cleaning agents and they can damage the fuel supply parts.
3. Brush liquid onto areas highlighted with arrows.
Growing bubbles indicate a leak.
4.
REGULATOR AND CYLINDER CONNECTIONS
CAUTION:
The gas pressure regulator provided with this outdoor cooking appliance must be used. This regulator is set for an outlet pressure of 11
inches water column.
Your regulator is equipped with a Q.C.C. Type 1 quick connect system. It will not allow gas to flow until a positive seal has been made. It
has a thermal element that will shut off the gas flow if the temperature reaches 240 degrees F (115 degrees C). It also has a flow-limiting
device that will restrict the flow of gas to 10 cubic feet per hour (0.28 cubic meters per hour).
Before each use, check the gas hose for excessive abrasion or wear, or cuts. Replace a hose assembly showing those signs with the
hose assembly specified in the p arts list before using the grill
CONNECT THE CYLINDER TO THE REGULATOR HOSE
1. Be sure the LP cylinder is "OFF" by turning the hand wheel clockwise until it stops.
2. Place the cylinder on the hook beside of body with the valve facing outward.
See Assembly Instructions to secure.
3. Be sure all burner controls are turned to the "Off" position.
Remove the safety cap from the from the cylinder valve.
4.
5. Center the nipple of the regulator into the cylinder valve
6. Turn the black nut clockwise until it stops.
Hand Tighten Only. Do Not Use A Wrench
General Information and Instructions | 9
Operating Instructions |
03
P.
