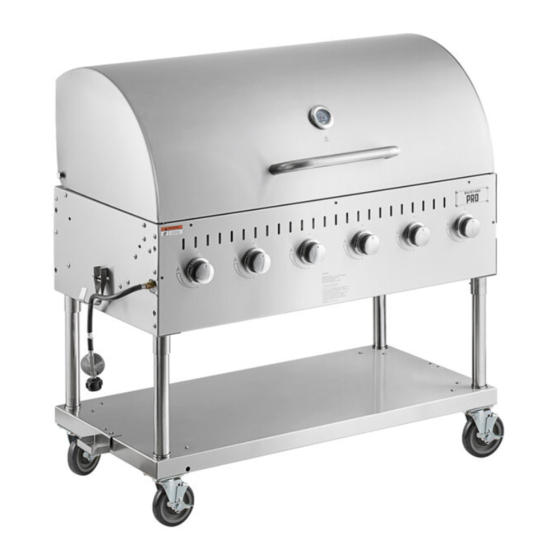
Backyard Pro 554LPG72RD Manual del usuario - Página 14
Navegue en línea o descargue pdf Manual del usuario para parrilla Backyard Pro 554LPG72RD. Backyard Pro 554LPG72RD 17 páginas. Liquid propane grill roll dome
También para Backyard Pro 554LPG72RD: Manual de inicio rápido (6 páginas)

14 |General Information and Instructions
BURNERS
We recommend you clean your burners at least twice a year, or before use if the grill has not been used in over one month.
WARNING:
Small insects, such as spiders, are able to access the burner tubes. Sometimes they will build nests or spin webs. In either case, this
can block or reduce the amount of gas flowing through the burner. You will usually see a smaller flame, or a flame that is mostly yellow
rather than blue, coming from the burner when this happens. Other signs include the grill not heating evenly, not reaching temperature,
or burners not igniting. In cases with severe blockage, this can cause the flame to burn backwards, and outside of the burner tubes,
which can cause damage to your grill and/or personal injury. IMMEDIATELY SHUT OFF THE FLOW OF LP GAS AT THE CYLINDER BY
TURNING THE HAND WHEEL CLOCKWISE SHOULD THIS HAPPEN. Wait for the grill to cool, and then clean all burners.
CLEANING THE BURNERS
1. Ensure the LP gas is turned off at the LP cylinder.
2. Remove the cooking grates, flame tamer, and grease tray.
3. Remove the cotter pins located underneath the back end of each burner.
4. Lift each burner up and out.
5. Clean the inside of the burner using a stiff wire. A straightened coat hanger is one suggested tool. An alternative way to clean the
inside of the burner is using compressed air. Always wear eye protection if using this method. Never enlarge the burner ports during
cleaning.
6. Brush the outer surface of the burner.
7. Ensure all ports (holes) are free of all debris
8. Inspect the burner. Replace if any cracks or enlarged holes.
9. Reinstall the burners making sure the burners seat over the valves as shown in the figure to the right.
WARNING:
Properly locating the burner with respect to the orifice is vital for safety.
10. Secure the back of the burners to the firebox with the cotter pins.
11. Replace the grease tray, flame tamer, and cooking grates.
12. Perform a Leak Test described earlier in this guide.
