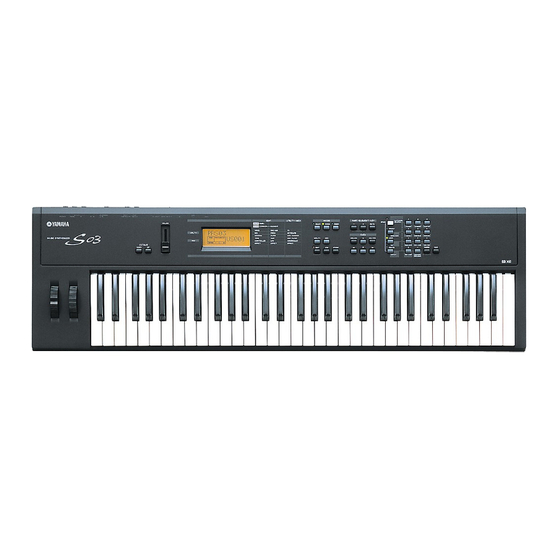
Yamaha S03 voice editor Manual del usuario - Página 18
Navegue en línea o descargue pdf Manual del usuario para Instrumentos musicales Yamaha S03 voice editor. Yamaha S03 voice editor 26 páginas. Voice editor
También para Yamaha S03 voice editor: Lista de datos (28 páginas), Manual de instalación del software (20 páginas), Lista de datos (29 páginas)

6 LFO AMPLITUDE knob
Use this to set the amplitude modulation depth of the LFO. You can also enter a value directly in
the text box to the left of the knob.
7 MIX knobs
Sets the output level (LEVEL) and pan setting (PAN).
8 [DETAIL] button
Click this to open the "EL Detail" dialog and enter the parameters for each Element. You have
wider and more accurate control over the parameters than with the editor graphs.
9 Editor graphs
Within these graphs, click and drag the square marks (handles) to visually adjust the
parameters for each Element.
n
Sometimes, not all the square marks are visible as they may be layered on top of each other at the same
position. In which case, click the visible square mark and drag it away to reveal the next square mark.
n
The following parameters can be adjusted with the waves numbered 001 through 029 in the Wave List:
• Note Shift
• Note Limit Low/High
• Velocity Limit Low/High
• Pitch Scale Sensitivity
• Pitch Scale Center Note
OSCILLATOR Settings
Click on the "WAVE" text box and choose the source waveform. One of the square marks is
used to set "VEL LIMIT LOW" and "NOTE LIMIT LOW." Set the lowest note velocity
response by dragging this square mark vertically. Set the lowest note in the key range by
dragging it horizontally. Similarly, set the highest note velocity ("VEL LIMIT HIGH") and key
range note ("NOTE LIMIT HIGH") using the other square mark.
n
When dragging the square marks, values are given as (X,Y) co-ordinates, where X is the NOTE
LIMIT (given as a MIDI note number) and Y is the VEL LIMIT. To view the note name instead of the
note number, select the "OSCILLATOR" tab of the "EL Detail" dialog.
FILTER Settings
Drag the square mark vertically to set the Filter Gain. Drag the square mark horizontally to
set the Filter Cutoff frequency.
n
Parameter values are shown when dragging the square marks. To set these values directly, select
the "FILTER EG" tab of the "EL Detail" dialog.
PITCH LFO Settings
Click and drag the square marks (handles) to set the time-dependent behavior of the PITCH
LFO. The left square mark controls the "LFO Delay." The right controls the "LFO Fade."
n
To set these values directly, select the "LFO" tab of the "EL Detail" dialog.
18
