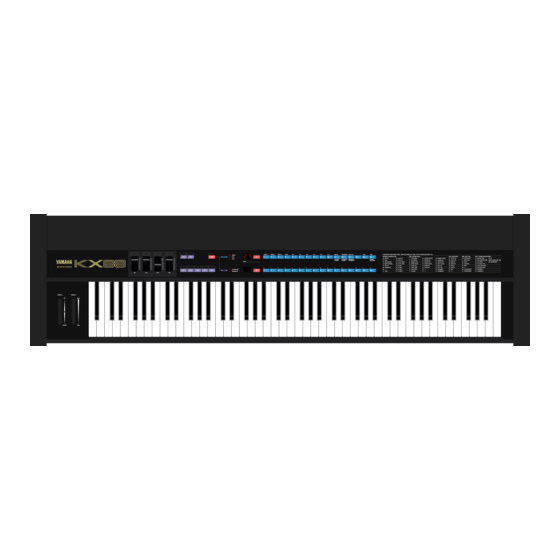
Yamaha KX88 Manual del producto autorizado - Página 15
Navegue en línea o descargue pdf Manual del producto autorizado para Teclado electrónico Yamaha KX88. Yamaha KX88 38 páginas. Midi master keyboard
También para Yamaha KX88: Manual del usuario (38 páginas), Manual del usuario (38 páginas), Manual de servicio (17 páginas)

CHAPTER 3: SETTlNG UP THE KX88
CA (controller assign) MODE
In the last chapter, we learned what functions had been
assigned to the controllers when the KX88 left the factory.
In this chapter, we will learn how to assign any function to
any controller.
Most of the frequently-used functions have been stored in
the KX88's memory and given a number; a CONTROLLER
CODE. (These CONTROLLER CODES) are printed on the
right side of the KX88.
The steps in assigning a controller are
1. Select a controller. (bank A switches 1-10, TS, MS and
FS switches)
2. Enter the controller code. (bank B switches 0-F)
To say it another way, you must decide
1. Which controller?
2. Does what?
Readout display codes
T1
TOGGLE SWITCH 1
MOMENTARY SWITCH 1
M 1
WHEEL 1
W1
BC
BREATH CONTROLLER
AC
AFTER TOUCH CONTROLLER
C1
CONTINUOUS SLIDER 1
FOOT CONTROLLER 1
F1
S 1
FOOT SWITCH 1
CA
CONTROLLER ASSIGN
PARAMETER ASSIGN
P A
SA
SAVE
BN
BANK
SP
SPLIT POINT
LO
LOAD
SONG SELECT
SS
PARAMETER CHANGE
PC
CC
CONTROLL CHANGE
UP
UNIVERSAL PARAMETER
MD
MANUAL DUMP
LM
LIMIT
O N
O N
O F
OFF
GROUP NO.
G
SUB GROUP NO.
PARAMETER NO.
T P TRANSPOSE
C H
CHANNEL
Wheel 2 = Volume
Let's try assigning Wheel 2 (W2) to Volume. (W2 = Volume)
Enter C.A. mode by pressing the MODE switch.
The LED will indicate CONTROLLER and the readout
will show CA.
Now, we must choose which controller we are assigning;
in this case W2. Above the bank A program selector
switches 1-10 you will see the various controllers indi-
cated. Select Wheel 2 by pressing program selector
switch 2. The upper readout will show which controller
you have selected.
Now, using the bank B program select switches 1-F,
enter the CONTROLLER CODE you want to assign to
Wheel 2. In this case, volume, which is controller code
17. Press bank B program select switch 1 and then 7.
NOTE: In CA mode, the numbers of the select switches
go from 0 to F, as is written above the switches.
Controllers (wheels, pedals, footswitches, switches,
sliders) will work only in PLAY mode. So, to try out the
new assignment you have made (Wheel 2 = Volume),
go back to PLAY mode and move Wheel 2. The volume
should change accordingly.
•
To assign controllers which are not listed above the bank
A program select keys (TS, MS and FS), simply press that
controller. For example, if you wanted to assign MS1,
press MS1 while you are in CA mode. The upper readout
will indicate MS1 and the lower will indicate the present
controller code. Use the bank B switches 0-F to enter the
new controller code. If you do not want to change the
controller code, just press another controller select switch
or go back to PLAY mode.
•
Controllers send MIDI signals only when moved. So for
instance, if you hold down the Foot Switch 1 (FS1 =
Sustain) and enter CA mode, the sustain will continue
even if you release the foot switch. (Controllers operate
only in PLAY mode.) When this happens, go back to
PLAY mode and press and release the foot switch.
- 1 3 -
