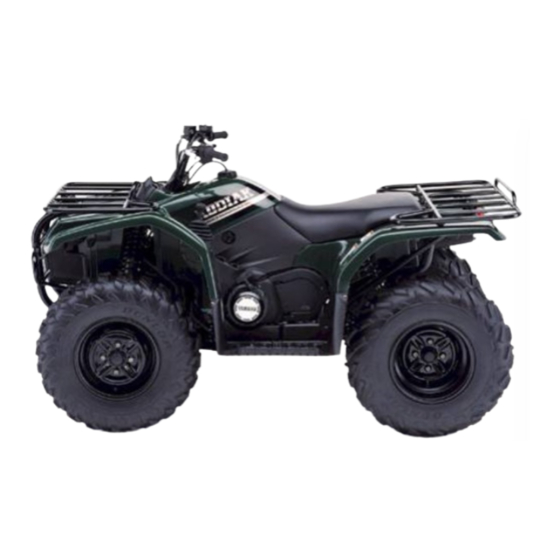
Yamaha 2000 YFM400FWAM Manual de montaje - Página 12
Navegue en línea o descargue pdf Manual de montaje para Vehículo todoterreno Yamaha 2000 YFM400FWAM. Yamaha 2000 YFM400FWAM 42 páginas.
También para Yamaha 2000 YFM400FWAM: Manual de servicio (31 páginas)

8. Handlebar switch/Commutateur sur guidon
9. Handlebar band (left)/Collier de guidon (gauche)
10. Handlebar band (right)/Collier de guidon (droit)
1
2
A: Tighten the screws in stages
and maintain an equal gap on
each side of the handlebar
switch.
WARNING
Proper cable routing is essential to
assure safe machine operation.
Refer to "CABLE ROUTING".
1
A: Clamp the handlebar switch
lead (left) and brake light switch
lead.
NOTE:
Refer to "CABLE ROUTING".
1
A: Clamp the handlebar switch
lead (right).
NOTE:
Refer to "CABLE ROUTING".
1
A
–5–
*
Handlebar switch
1
Panhead screw
2
V
A: Serrer les vis progressivement et
Pour la sécurité, il est essentiel que
les câbles et fils soient posés
correctement. Voir le "CHEMIN-
EMENT DES CABLES ET
FILS".
Band
2
V
A: Brider le fil de commutateur sur
N.B.:
Voir le "CHEMINEMENT DES
CABLES ET FILS".
Band
2
V
A: Brider le fil de commutateur sur
N.B.:
Voir le "CHEMINEMENT DES
CABLES ET FILS".
d = 5 (0.20), R= 30 (1.17)
maintenir un intervalle égal de
chaque côté du commutateur sur
guidon.
AVERTISSEMENT
guidon (gauche) et le fil du
contacteur de feu stop.
guidon (droite).
