Blackberry Bold 9700 Manual de introducción - Página 13

Navegue en línea o descargue pdf Manual de introducción para Software Blackberry Bold 9700. Blackberry Bold 9700 37 páginas. Blackberry bold 9700 smartphone
También para Blackberry Bold 9700: Manual (42 páginas), Manual (42 páginas), Empieza aquí (4 páginas), Guía de inicio rápido (46 páginas), Información sobre seguridad y productos (37 páginas), Manual del usuario (11 páginas), Manual del usuario (7 páginas), Esquema eléctrico (18 páginas)
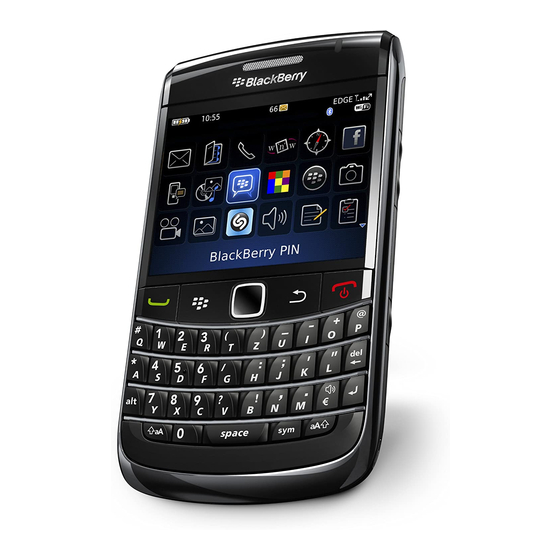
Blackberry Bold 9700 Manual de introducción
Assign an icon to myFaves
4. Scroll to Change Icon and press the trackpad.
5. Scroll to and select Change Icon.
6. Select one of the following
options:
My Pictures: If you want
n
to take a picture and
assign it to the myFaves
contact, scroll up and
select Camera. Frame
the subject and press the
trackpad to take a picture.
Move the circle to the
desired location. Press the Menu key and select Crop
and Save.
To use a picture you have already taken, navigate to
the picture and select the picture. Move the circle to
the desired location. Press the trackpad and select
Crop and Save.
myFaves Icons: Scroll to and select an icon.
n
Browse Icons: Scroll to and select myFaves icons.
n
Locate and select an icon to download.
7. Press the Menu key and select Save.
22
8. Select Yes to confirm.
An hourglass displays in the circle while the contact
is being added to the contacts list. You can use your
device during this time. Once the contact is added, you
will receive a confirmation message and the hourglass is
replaced by your new contact.
Now you are ready to call your contact. On the
Home screen, scroll to the contact and press the
green Send key.
Assign a ringtone to myFaves
1. On the Home screen, scroll to and select the contact.
2. Press the Menu key.
3. Select Edit Contact.
4. Under Custom Ring Tones/Alerts, select Phone.
5. Scroll to and select T-Jingle.
6. Scroll to and select a ringtone from the list or scroll up
and select Browse to locate a sound file that is saved on
your device.
7. Press the Menu key and select Save.
8. Press the Menu key and select Save again.
23