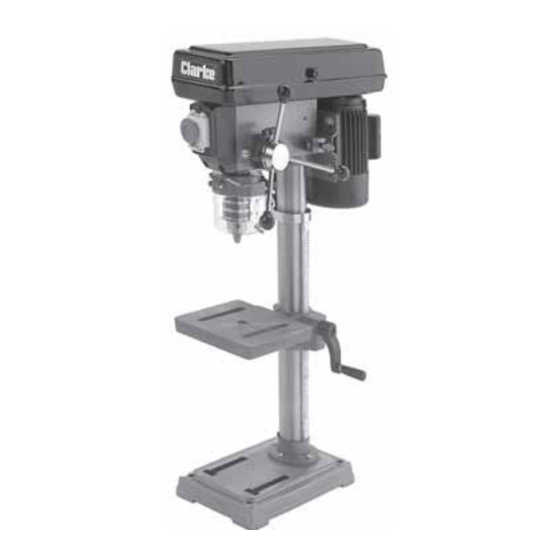
Clarke CDP10B Instrucciones de uso y mantenimiento - Página 11
Navegue en línea o descargue pdf Instrucciones de uso y mantenimiento para Herramienta eléctrica Clarke CDP10B. Clarke CDP10B 19 páginas. 12 speed drill press

SETTINGS and ADJUSTMENTS
1. Table.
Fig.7
The table may be raised, lowered or swivelled about the
column, by slackening off the table support locking
handle, (Fig. 7), adjusting accordingly, and re-tightening
the handle.
It may also be tilted by loosening the screw, which secures
the table to its' mount, beneath the table (see Fig.9), tilting
to the required position, and re-tightening the screw.
A bevel scale is provided on the table mounting,
Table Support
measured in degrees, to assist in setting the required
Locking Handle
angle, see Fig 8.
For all normal operations, the table should be set to 0°.
The round table of the floor mounted version may also be
swivelled about its axis by slackening the locking lever
(see Fig.9). Ensure it is tight before commencing to drill.
To check to ensure the table is entirely square to the drill, insert a piece of straight round bar in
the chuck, place a square on the table and bring it up to the round bar. Adjust the table tilt if
necessary so that the table is correctly aligned.
Fig. 8
Fig.9
Table Tilt Scale
2. Spindle Depth
Fig. 10
Located around the Spindle Feed Shaft is a Depth
Stop Collar carrying a graduated scale (A, Fig.10). The
Collar is capable of turning about the shaft and may
be locked in place by Locking Screw B.
The
Graduations are Metric (mm).
To set a drilling depth:
With the drill bit installed and tightened securely,
lower it...WITH THE POWER OFF, so that it lightly
contacts the work, and hold in that position with one
hand whist slackening the locking screw (B) and
rotating the scale (A) ANTICLOCKWISE until it stops.
The zero mark should now be opposite the pointer (C).
Maintaining a light pressure on the drill bit, back off the scale ring until the value of the desired depth of
cut (mm), is opposite the pointer, then tighten the locknut (B).
The drill is now set to drill holes to your desired depth. i.e. Providing your workpiece is level and flat,
you may drill a series of holes, each to the same depth, quickly and accurately.
11
11
